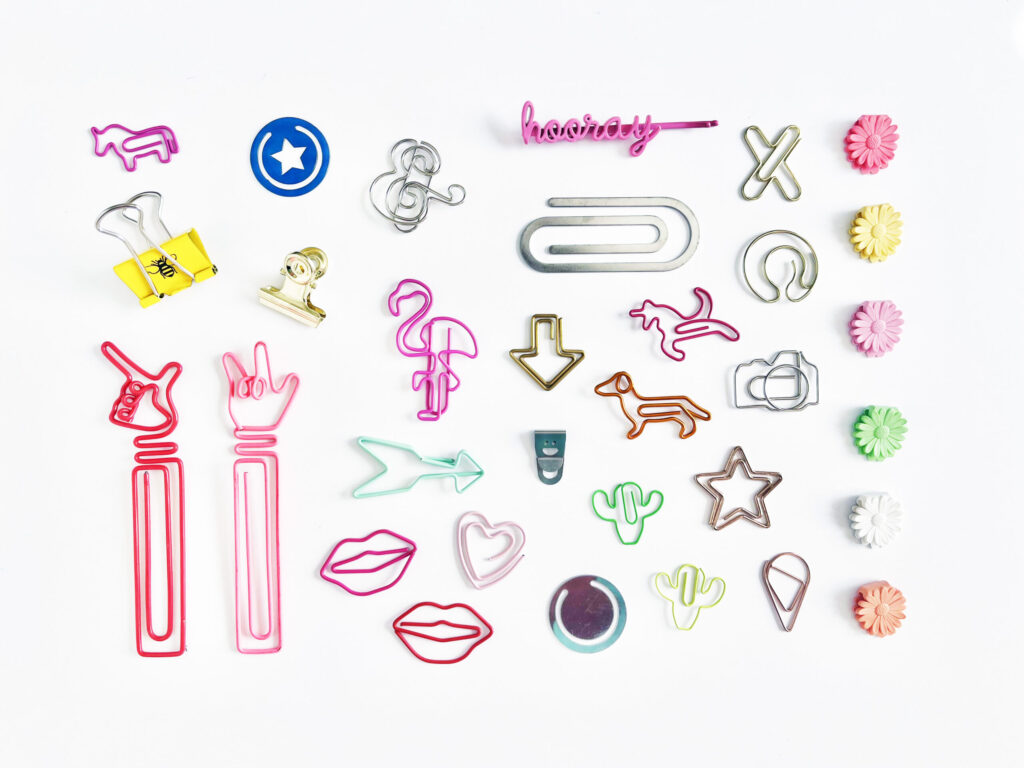
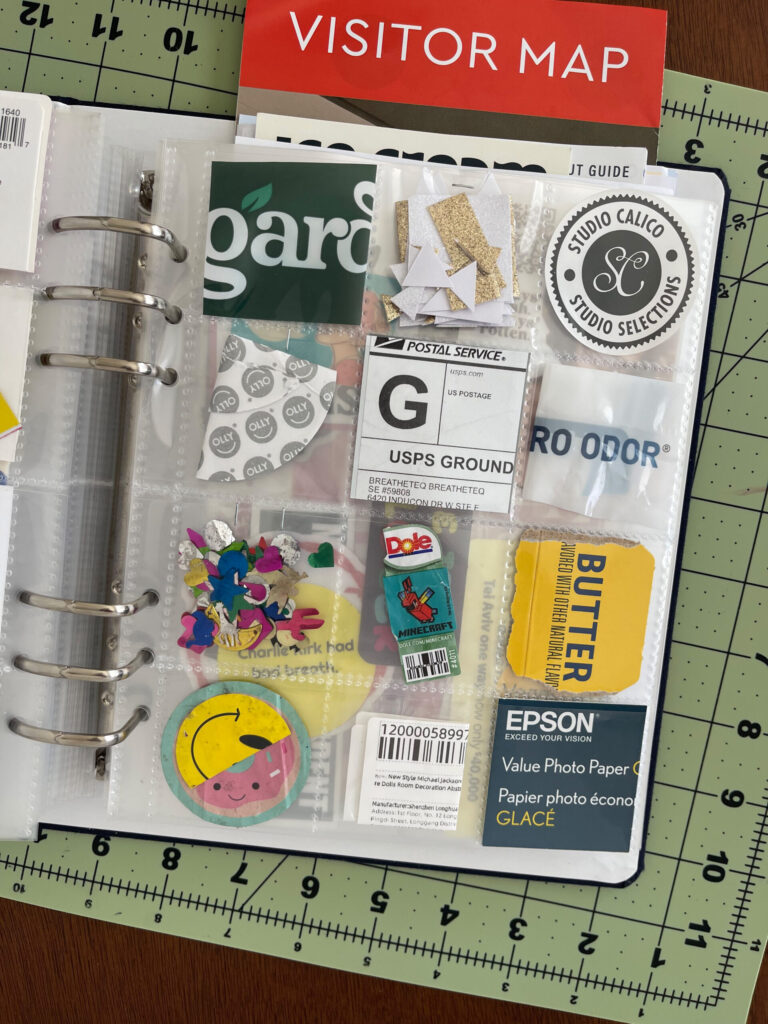
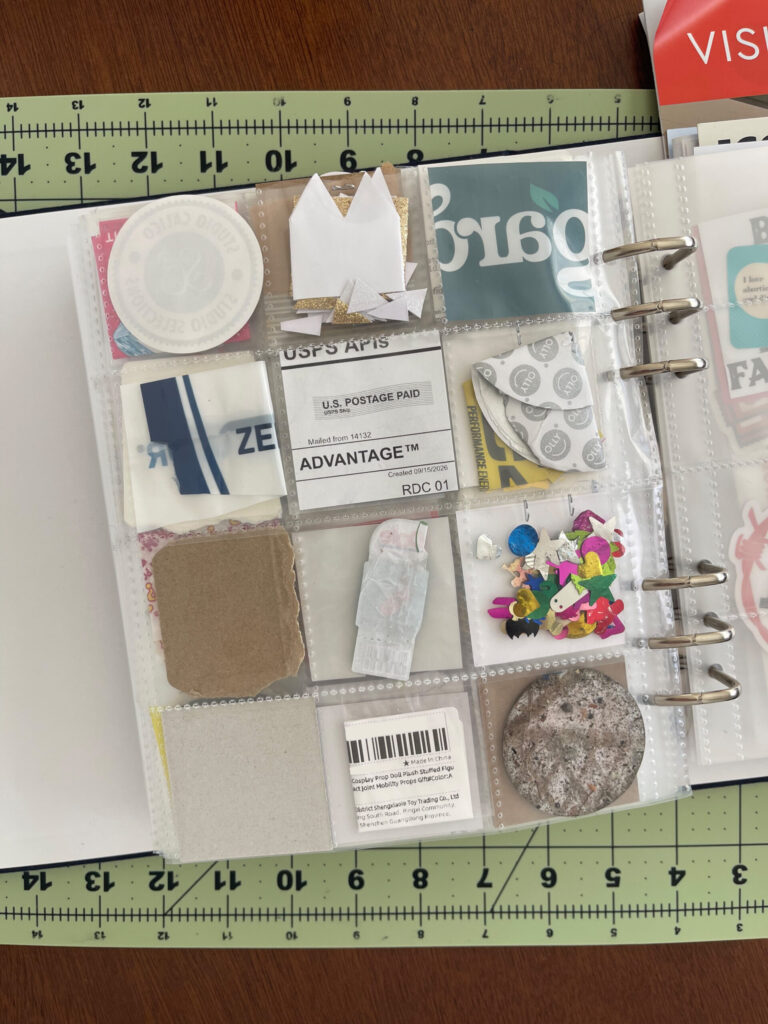
Here are the scraps of ephemera I saved in August.
Top row
Packaging from new hair ties
Packaging from my latest Rogue order (chalk (theirs is the best and it lasts forever)
Packaging from the Legally Blonde edition of ICE Sparkling Water, which I decided to try because it’s pink and sparkly (it was okay, no strong opinion either way)
Second row
Pre-workout sampler packaging
Label from a set of Container Store hanging folders (they’re my favorite; I love the color options, how thick the folders are, and how they feel to the touch)
Packaging from a small bottle of the Target brand Excedrin I bought for the migraine kit I keep in my car
Packaging from a bag of the dark chocolate Lindt LINDOR chocolates
Wrapper from a Dum-Dums
Bottom row
Ink cartridge packaging
Packaging from the small containers I bought to carry my various powders and potions to the gym with me so I can stop carrying them around in tiny ziplock bags like a drug dealer. THEY’RE SO CUTE!!!
Caution tape that was strung across the entrance to my apartment complex’s parking lot after being repaved and re-striped
The people yearn for physical ephemera and memorykeeping, which is fantastic news because there’s no better time than now to begin keeping a physical photo album or scrapbook (I’m using these words interchangeably). This post is your sign, and in it I share one way to approach this hobby—pocket page scrapbooking—and how to get started with it.
This post is intended to be a starting point. I’ve done my best to include a range of information, examples, and suggestions. Even so, this post is neither exhaustive nor representative of every pocket page approach or style/aesthetic out there.
While intended as an introduction to pocket page scrapbooking, you may find through the links in this post other ways of documenting and memorykeeping that you like better, like bullet journaling, junk journaling, art journaling, or using a memory planner. A lot of pocket pagers that I followed back in the day (early to mid-2010s) have fully replaced or now supplement their pocket page memorykeeping practice with these practices. I have no experience with these practices, so I don’t discuss them in this post.
This post is primarily geared toward people who are brand new to pocket page scrapbooking, and those returning to the hobby after a long hiatus.
I especially encourage people who don’t have fancy “real” cameras and those who think their lives aren’t exciting or big or important or aesthetic enough to document to consider this hobby.
I extra especially encourage single women and women who don’t have kids to document their lives. I also extra especially encourage women who are partnered and/or parents to document their lives as people, outside of who they are as partners and/or parents.
That said, anyone interested in pocket page scrapbooking will be able to get something from this post.
A mash-up of traditional scrapbooking and traditional photo albums
A Type A-adjacent approach to scrapbooking
Kind of like creating a real-life, offline Instagram grid
In traditional scrapbooking, photos, journaling, embellishments, and ephemera are adhered directly to one side of a piece of scrapbooking paper (usually 12″ square), which may or may not be slipped into a plastic sheet/page protector for safekeeping. These completed one-sided pages are called layouts. Layouts often document a single occasion, event, or memory, and are collected together in a scrapbook. They often have a very collage-style feel to them.
There are two main types of traditional photo albums. Magnetic photo albums have a plastic sheet that lifts up. Underneath it, you arrange your photos, journaling, embellishments, and ephemera. It’s similar to traditional scrapbooking, except without decorative paper as the background. Slip-in, or pocket, photo albums have pockets into which you slip your photos. The pockets, also called sleeves, are often the same size throughout the album and there are often multiple pockets/sleeves, per page.
Pocket page scrapbooking combines these two approaches to memorykeeping: you preserve your photos, journaling, embellishments, and ephemera in plastic page protectors. The page protectors come in different sizes and pocket configurations, allowing you to easily arrange and rearrange elements and pages.
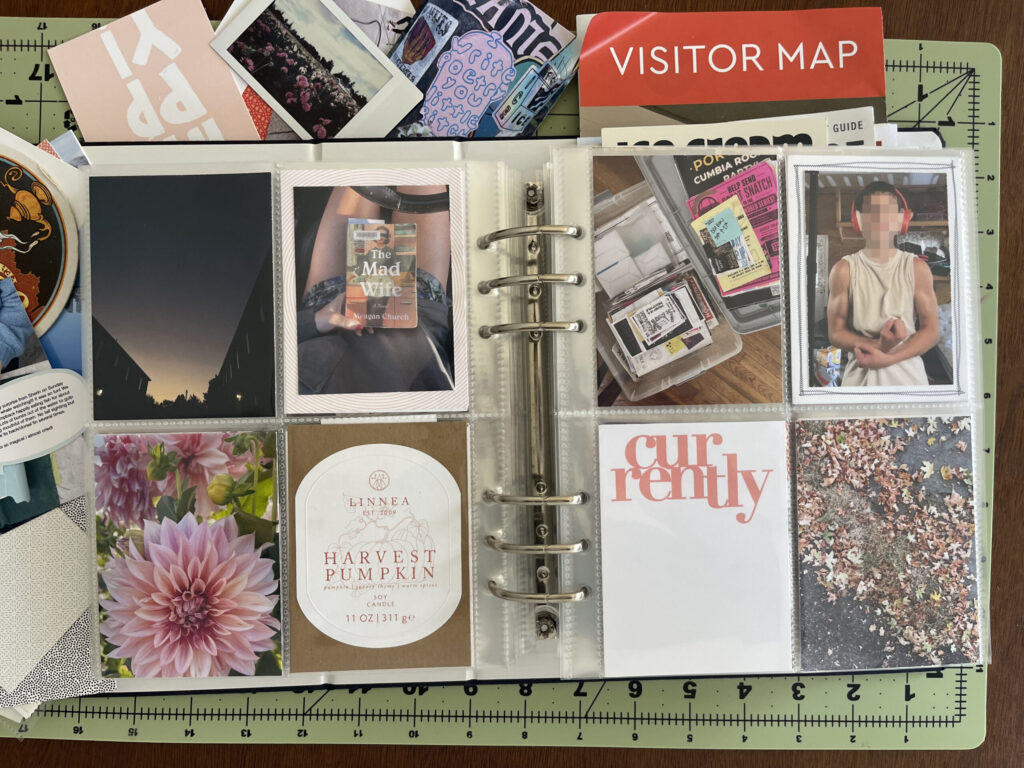
A spread from my 2026 album.
There are three main ways to approach pocket page scrapbooking: physical, digital, and hybrid. These approaches are exactly what they sound like. In this post, I focus on physical pocket page scrapbooking because it’s the approach I’m most familiar and experienced with.
Like any community, this one has its own vocabulary. Common terms include:
Project Life v. pocket page v. memorykeeping
Spread
Pocket
Filler/journaling/pocket cards
Inserts
Project Life v. pocket page v. memorykeeping
Project Life is the brand name for the style of scrapbooking that uses plastic page protectors—which come in different sizes and pocket configurations—to organize photos, journaling, embellishments, and ephemera.
Pocket page is the generic, non-trademarked name for the same style of scrapbooking.
Memorykeeping is an umbrella term that I use to speak broadly about the different projects I undertake to document my life, including pocket page scrapbooking. You may also encounter the phrase “modern memorykeeping” to describe pocket page scrapbooking.
Spread
A spread is the left and right sides (or pages) of a pair of page protectors. Sometimes also called a layout.
A spread from my 2017 album.
Pocket
Pockets are what you slip your photos, pocket cards, embellishments, and ephemera into. Each page protector has one or more pockets. Most pocket page spreads are made of page protectors with multiple pockets per page; single-pocket page protectors aren’t used as frequently. In the photo above, there are eight 3×4 pockets. In the photo below, there are four 3×4 pockets and one full-page 6×8 pocket.
A spread from my 2017 album showing a single-pocket 6×8 page on the right. The pocket holds the pair of eclipse glasses I’m wearing in the photo on the facing page and a citation I got on my way to see the eclipse.
Filler/journaling/pocket cards
Technically, these are three distinct types of cards.
Filler cards have a pattern, design, or phrase on them—and that’s it. They’re used as—you guessed it—filler when you don’t have anything else to slip into a pocket
Journaling cards may have patterns, designs, or phrases on them but are primarily used to include information about the other items included in the spread, or events that happened during the period of time the spread is covering that aren’t otherwise documented in the spread or album (for example, events that don’t have an accompanying photo or ephemera)
Pocket cards is an umbrella term that includes both filler and journaling cards
In practice, many people use these three terms interchangeably. Throughout this post I refer to them as pocket cards. In previous posts, I’ve used the terms interchangeably.
Pocket cards are used to add personality, context, whimsy, and/or visual interest and/or cohesion.
Various filler cards printed with words and phrases that take up most of the space on the card.
Some pocket cards can be used as filler without adding anything to them, or as a background for small photos, ephemera, or blurbs of journaling.
Various patterned pocket cards that can used as filler cards on their own, or that can be paired with small photos, ephemera, or blurbs of journalingVarious pocket cards that can used as filler cards on their own, or that can be paired with small photos, ephemera, or blurbs of journaling. Some are blank, others have a small single word or short phrase printed on them
I regret to inform you that most of the pocket cards I use are from a brand that no longer sells memorykeeping supplies and therefore are no longer available. Sorry!
Many online memorykeeping shops sell digital pocket cards that you can download and print. Some also sell physical pocket cards, usually in sets or kits, which are printed on high-quality cardstock and may feature premium features like gold foil or letterpress.
Photo flips
Photo flips are individual pockets that self-adhere to page protectors. In pocket page scrapbooking, they’re used to include extra photos, journaling, and ephemera.
Example of a photo flip pocket in my 2026 6×8 album.
Photo flips can flip up, or to the side.
Example of a photo flip pocket in one of Jamaica’s albums. Source
At the time of this post, photo flips are no longer available; they’re yet another OG Project Life product that’s gone extinct (RIP). I included them in this post because (1) if you start exploring this hobby, you’ll come across others using them in their albums often enough, and (2) I’m manifesting their return.
Inserts
Inserts are used to include additional photos, journaling, and ephemera that don’t neatly fit into your spread otherwise. They are slipped into the album between the left and right pages of a spread. Often, inserts are smaller in size than the page protectors used for the main spread. For example, in a 6×8 album, an insert may be a 3×8 page protector; in a 12×12 album, it may be a 6×12 page protector.
There are five physical items you need to get started with this style of memorykeeping.
An album
Page protectors
A camera
A way to print photos
Scissors or a paper cutter
In addition to physical products and the money to buy them, this hobby requires practice, patience, storage and work space, time, and the willingness to be a beginner.
To get started, you can expect an initial investment of between roughly $100 and $400 USD:
For an album, a few sets of page protectors, and scissors or a paper cutter, you can expect to spend roughly $80 USD, give or take
For a decent at-home photo printer, ink, and photo paper, you can expect to spend roughly $300 USD or more
Albums
When choosing an album, the main consideration you must make is size. Popular album sizes include (in inches) 12×12, 9×12, and 6×8.
The following seven photos are not of my spreads. I’ve included examples of others’ spreads to show what different sizes look like, and a wider variety of styles and aesthetics.
A 12×12 spread by Ali Edwards using 3×4 and 4×6 pockets (this specific configuration of pockets—two 4×6 pockets on both the top and the bottom and four 3×4 pockets between them—is famously known in the community as Design A page protectors):
What material you want your album to be: chipboard, cloth-covered, or pleather/faux leather
Whether you want your album to be a solid color or feature a pattern/design
Whether you prefer an album with two rings or six
The size of album you choose will depend on several factors, such as:
How much space you have to work on your album, and whether you’ll keep it out and open while you work on it
The level of detail you wish to capture
Whether you plan to document chronologically or thematically
Whether you’re documenting for an entire family or household, for a couple, or for just one person
Many pocket page memorykeepers with children, especially younger children, use larger albums. 12×12, 9×12, and 10×8 are popular choices.
Many pocket page memorykeepers who don’t have children and/or a partner (or who don’t heavily feature them in their albums), or who document a specific theme or occasion, use smaller albums. 6×8 is the most popular choice.
There are several online shops that sell albums. Four popular options:
Scrapbook.com is a marketplace that sells a variety of brands. The other three shops sell only their brand of products.
Over the years, I’ve purchased multiple albums from each of these shops. I think Citrus Twist Kits and Ali Edwards offer the highest quality albums.
I prefer Citrus Twist Kits because they check most of my boxes: they have a large selection of solid-colored, cloth-covered, 6-ring 6×8 albums. My only gripe is that they don’t sell black albums. Their Midnight album is the closest one they have to black. It’s pretty close, but it’s definitely not black.
The other shops primarily or exclusively sell albums that are chipboard or pleather/faux leather, feature patterns/designs, and/or have only two-ring albums.
Ali’s album inventory changes more frequently than that of the other shops, and she always offers albums that coordinate with the popular annual memorykeeping projects she hosts (more below). She also sells 10×8 albums (and corresponding page protectors), a size that she uses and that’s becoming more popular in the community.
Often—but not always—albums come with a few page protectors to get you started. Be sure to read the product description before purchasing to confirm whether this is the case. Before purchasing, it’s also important to know how many rings your album has because that will determine which page protectors you buy. To ensure compatibility, a good rule of thumb is to buy an album and page protectors made by the same brand.
Page protectors
Page protectors, also called pocket pages, are the defining characteristic of this style of memorykeeping. For most album sizes, corresponding page protectors are available in several different configurations.
For example, for 6×8 albums, corresponding page protectors come in the following configurations (per page):
One 6×8 pocket
Four 3×4 pockets
Two 4×6 pockets
Twelve 2×2 pockets
Two 3×4 pockets and one 4×6 pocket
One 4×6 pocket and six 2×2 pockets (not pictured below)
One 3×8 pocket (not pictured below)
Two 3×8 pockets (not pictured below)
Examples of a selection of page protector configurations for a 6×8 album. Source
Page protector configurations are sold both individually and in combo packs. When sold individually, usually you receive 10 pages per pack, all of the same configuration. Combo packs usually come with 10 or more pages total, two to five of each page configuration.
Before purchasing page protectors, confirm they match how many rings your album has. To ensure compatibility, a good rule of thumb is to buy an album and page protectors made by the same brand.
Be sure, too, to confirm the page protectors you’re buying are the right size to fit your album (6×8, 9×12, 12×12, etc.).
Below are examples of 9×12 page protectors. Note how similar some look to the 6×8 page protectors above.
Examples of a selection of page protector configurations for a 9×12 album. Note how similar a few of them look to some of the 6×8 page protector configurations above. Source
To mitigate accidentally buying the wrong size of page protectors, I recommend filtering page protector options by size, if the shop provides that function.
Any camera will do. Years ago, I used my “real” camera (a DSLR) for many of my photos. Since 2020, I’ve exclusively used my iPhone and my Instax to take the photos that end up in my albums. You absolutely do not need a super fancy, expensive “real” camera for this hobby.
Photo printing
You have two photo printing options: print at home, or use a photo printing service. I’m an evangelist for printing photos at home: it’s much more convenient, it allows more room for experimentation and mistakes, and it’s cheaper in the long run. On the flip side, it does require a more significant startup investment, additional storage space, and it can come with a learning curve.
The most common sizes of photos used in pocket page scrapbooking are 2×2, 3×4, and 4×6.
At home
The Epson Picture Mate 400 (PM-400) is a popular at-home photo printer. It’s the one I use and I love it. I’ve had it for a decade and it’s still going strong, even after several moves and more than a year in storage in a non-climate-controlled garage. I use Epson ink and, depending on whichever is in stock when I reorder, either Epson 4×6 Premium Photo Paper – Glossy or Epson 4×6 Value Photo Paper – Glossy. There’s definitely a difference in thickness between the photo papers. Because I slip my photos into page protectors, that difference isn’t consequential enough to matter to me. I don’t feel like there’s a significant difference in the quality of color or clarity.
Because the Epson PM-400 is the at-home photo printer I have the most experience with, it’s the only one I feel comfortable recommending. That said, I know that Canon PIXMA printers are popular with pocket page memorykeepers, as are the printers Ali Edwards uses.
Note that while the Epson PM-400 has a small footprint, this means it can’t print large photos. You can feed it 4×6 or 5×7 photo paper (or light cardstock). Printing anything larger than 5×7 will require a different printer.
You will need to make your own decision regarding whether to purchase a product protection plan. For what it’s worth, in the decade that I’ve owned mine, I’ve never once had an issue with it (though to be fair, it was manufactured more than a decade ago, which almost certainly plays a role in its longevity).
Often—but not always—a new printer will include ink cartridges and a small pack of photo paper to get you started. Before ordering an at-home photo printer, make sure to read what’s included in the box. Be sure, too, to confirm you’re buying a printer and not a printing subscription.
Photo printing service
There are many photo printing service options. My favorite is Persnickety Prints. Since 2017-ish, on the rare occasion I don’t print my photos at home, they’re the only service I’ve used. I highly recommend them. Their website can be a little wonky. If you can bear with it, their quality and customer service is unmatched.
Whether you print your photos at home or through a photo printing service, you will almost certainly need scissors or a paper cutter, especially if you’re printing multiple photos on a sheet of photo paper.
I recommend using a paper cutter to cut out photos and any regular pair of scissors to clean up the edges, if needed. I use this paper cutter and these scissors.
Before purchasing, you might find it helpful to visit a local craft supply store to get a feel for the difference between different paper cutters—sturdiness, size, weight, type of blade, etc.—especially if you have specific workspace and/or storage requirements, or specific tactile needs.
In addition to the basics, many memorykeepers also eventually add to their supplies some or all of the following:
Photo editing software*
Typewriter fonts*
Cardstock*
Date stamp*
Adhesive*
Embellishments*
Kits and classes*
Pens, pencils, markers
Stamps and ink
Sewing machine
Die cut machine
I touch on the asterisked items below.
Photo editing software
Two popular photo editing software options: Photoshop Elements (PSE) and Canva.
Photoshop Elements
Once upon a time, PSE was the go-to photo editing software used by many pocket page scrapbookers, and it’s the software I still use to this day. PSE is a pared-down version of Photoshop that’s perfect for any non-professional looking to make simple edits to their photos, such as:
Cropping
Resizing
Rotating
Adding text
Converting to black and white
Adjusting the brightness, contrast, saturation, or white balance
Photoshop Elements is also great for making similar changes to digital filler/journaling/pocket cards.
Canva is another popular option among pocket pagers. And, bonus, they offer a free version. They also have a Pro version, which gives you access to more—more template, more fonts, more cloud storage space, etc. Canva Pro costs $18/month or $144/year. You can try Canva Pro for free for 30 days. A full comparison of Canva plans is here. And here’s how to cancel your Canva free trial or subscription. Canva does not prorate refunds. If you’re a monthly subscriber and cancel one day into your subscription, you will not receive a refund for the remaining days in the month. If you’re an annual subscriber and cancel two months into your plan, you will not receive a refund for the remaining 10 months. Before subscribing, be sure to read through their cancellation terms.
Printing journaling in a typewriter font is a popular choice for many pocket pagers. If you don’t have a typewriter, you can print directly onto a physical pocket card, or type your text onto a digital pocket card before printing.
Here’s a a look at journaling typed with an actual typewriter (left), and journaling printed in the Remington Noiseless typewriter typeface (right).
Left: Journaling typed with a typewriter. Right: Journaling typed with the Remington Noiseless typeface.
The choice comes down to the equipment you have, your budget, and your preference. I like the look of journaling typed with an actual typewriter better than I do that typed with a typewriter typeface. That being said, I like the flexibility typewriter typefaces offer—you can change the size to fit more or less on the filler card or photo, and you can align everything exactly the way you want it much more easily.
If printing at home, I recommend using a light cardstock when printing digital pocket cards. Since I began this hobby in 2012, I’ve used the Michaels brand 65# white cardstock and trim to size as needed.
Both Scrapbook.com and Michaels sell other packs and individual sheets of cardstock in various colors, sizes, and patterns. When selecting cardstock specifically to print onto, make sure you select a weight/thickness your printer can handle.
Date stamp
There are so many date stamp options out there. Personally, I prefer this simple self-inking date stamp. If you like more variety in typeface, size, and ink color options, I recommend browsing Ali’s stamps and inks or those available from American Crafts.
Embellishments is an umbrella term that covers a whole bunch of stuff, including:
Badges (pinback buttons with a smooth backing instead of a pin)
Borders and frames
Clips
Die cuts
Glitter and confetti
Labels, tags, and tabs
Stickers
Vellum
Washi tape
Wood veneers
Virtually every online memorykeeping shop sells some variety of embellishments. Your local chain or independently owned craft supply or creative re-use store will carry a selection of embellishments, too.
I keep my small collection of embellishments in a plastic case that came with a tool bag I bought a decade ago. The Container Store carries a similar one.
Kits and classes
Many memorykeeping brands offer monthly and/or quarterly kit subscriptions, which come with a variety of different themed products each month.
A year-long, paid workshop with monthly reflections and prompts that guide you and your word through the year. This paid project also grants you access to a closed community where you can interact with Ali, her team, and other project participants
You can participate in any of Ali’s annual projects informally for free by using the project’s hashtag(s) and/or adhering to the “spirit” of the project. You can also purchase one (or more) of the corresponding albums and kits that Ali releases for each project each year.
I also recommend searching hashtags for specific brands or designers to see how their products are used and to find additional hashtags, products, brands, techniques, and memorykeepers to follow for inspiration. For example, try searching #paisleepress or #everydayexplorersco.
Pinterest
On Pinterest, you can search any of the Instagram hashtags listed above as either hashtags or phrases; the names of your favorite memorykeepers, brands, and shops; or, you can rabbit-hole your way through my memorykeeping inspiration board, which I’ve organized into several different sections:
As you find memorykeepers and brands whose style you like, scroll through the lists of who they’re following and the hashtags they use in their posts—you will absolutely discover new-to-you memorykeepers, brands, styles, and techniques this way.
There is no singular or “right” way to “do” pocket page scrapbooking.
Some people keep chronological albums, with each spread sequentially documenting a single week or month. Others create themed albums—think “baby’s first year” or “my pregnancy” or “Disney World 2026.” Some go with the flow, creating and filling spreads as time permits or as inspiration strikes, without defining their album by a strict theme or period of time.
When I first started pocket page scrapbooking, the standard approach was to document your life chronologically by the week. At the time, most people used a 12×12 scrapbook, Design A page protectors, and a weekly title card, often in the top left pocket, as seen in this spread from Ali:
Over the years, my approach has shifted. I’ve gone from using a 12×12 album to a 9×12 album to a 6×8 album, which has coincided with my transition from documenting family life with three young children to primarily documenting my life, not my kids’. Another change: While I still document chronologically, I’m much more loose with it these days—I’m not worried about each spread strictly documenting a single week, and I’m not worried about photos being in exact chronological order.
A spread from my 2026 album.
The shift in my approach has also coincided with a broader shift in approach within the pocket page scrapbooking community. These days, I see far more loosely chronological and thematic approaches than I do strict weekly or monthly approaches. Many people use Ali Edwards’ different kit subscriptions as their primary approach—the kits provide both a prompt and products themed to said prompt, which many people find easier/enjoyable to work with than a blank canvas.
* * *
Is there something I didn’t touch on in this post that you wish I would’ve? Please share in the comments.
Are you included in this post and you don’t want to be?
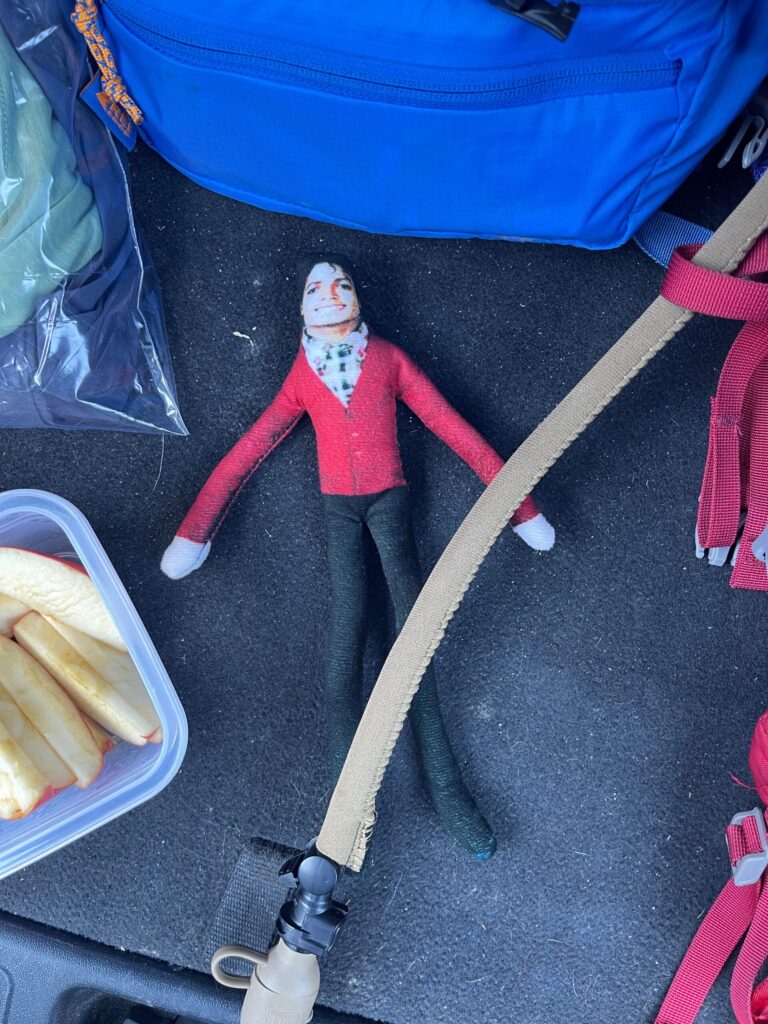
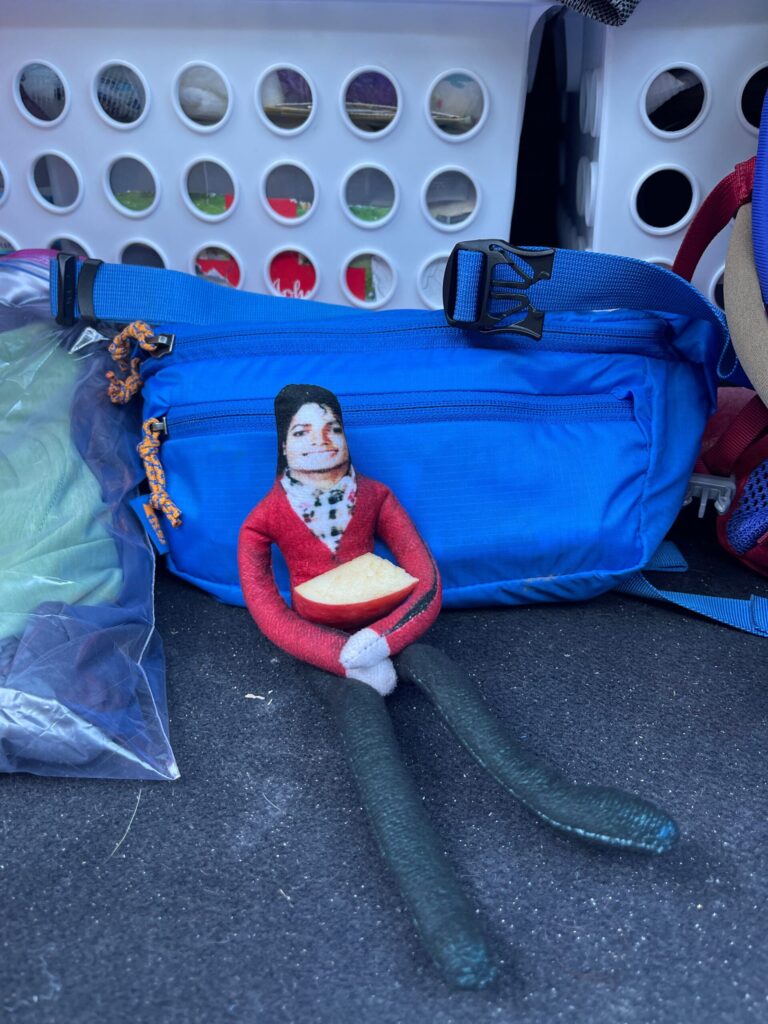
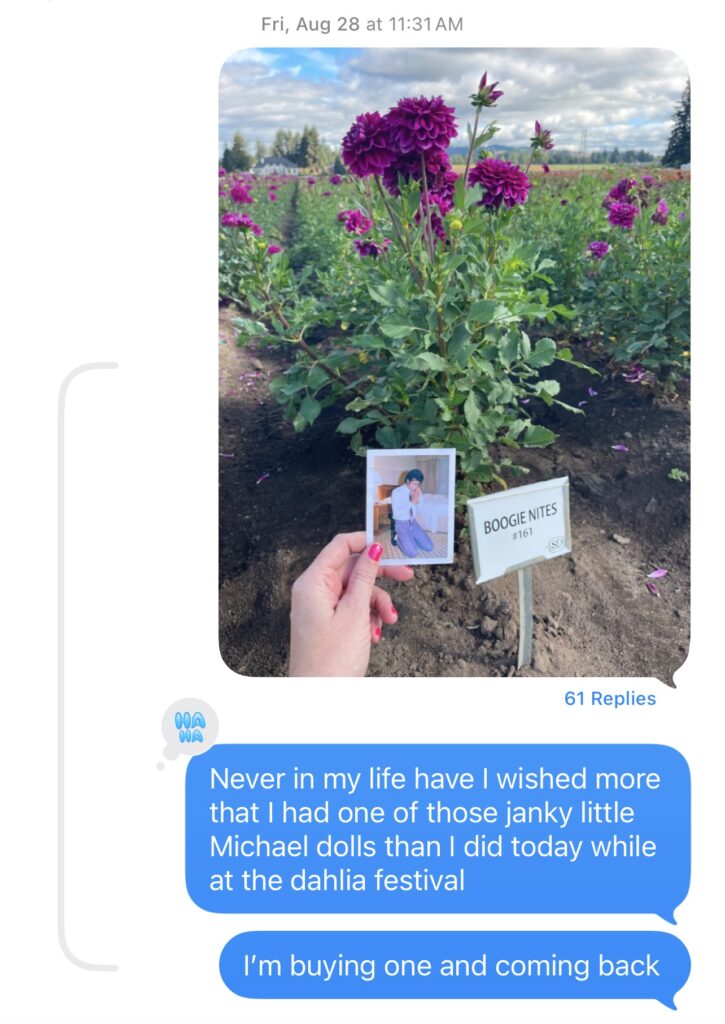
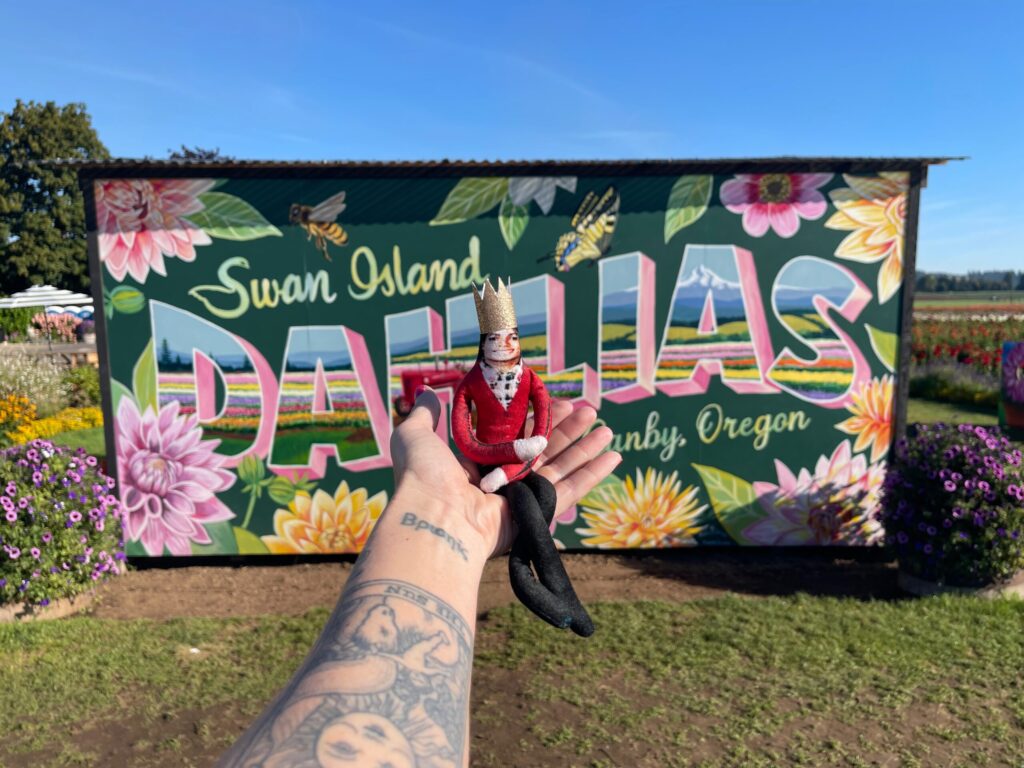
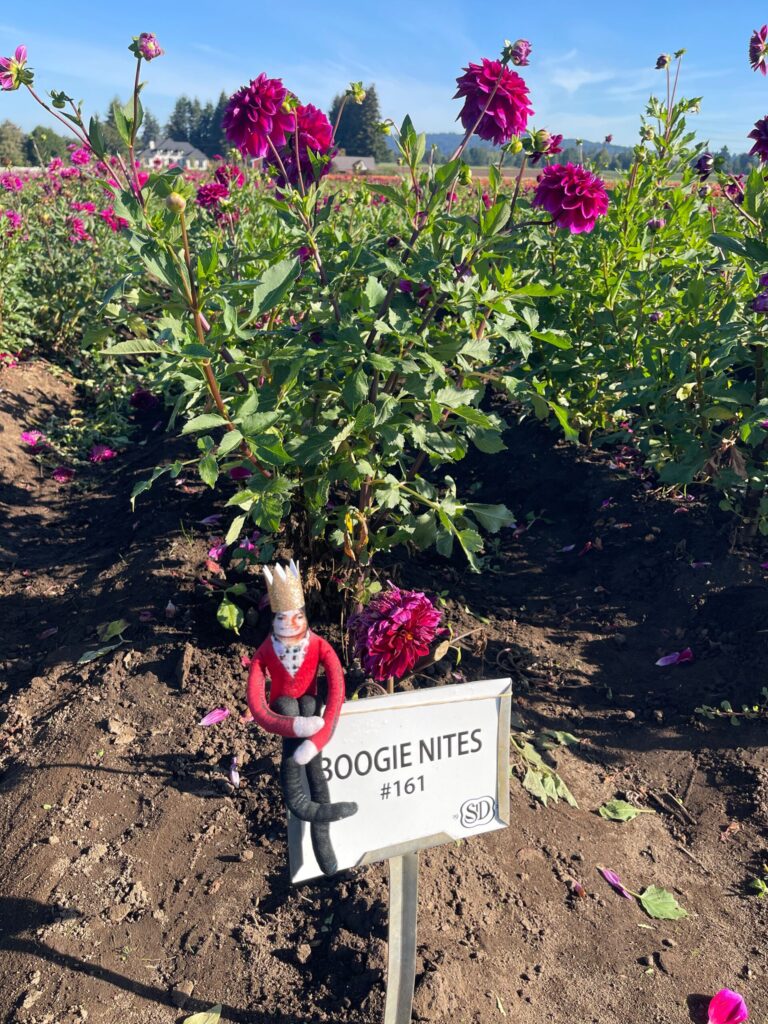
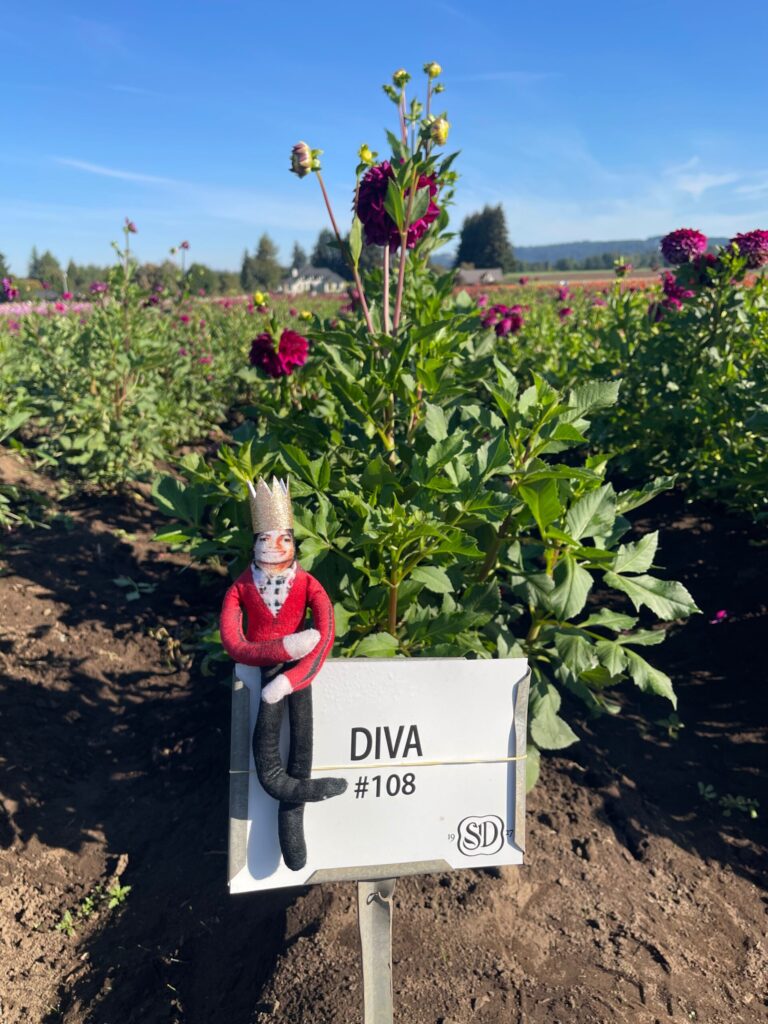
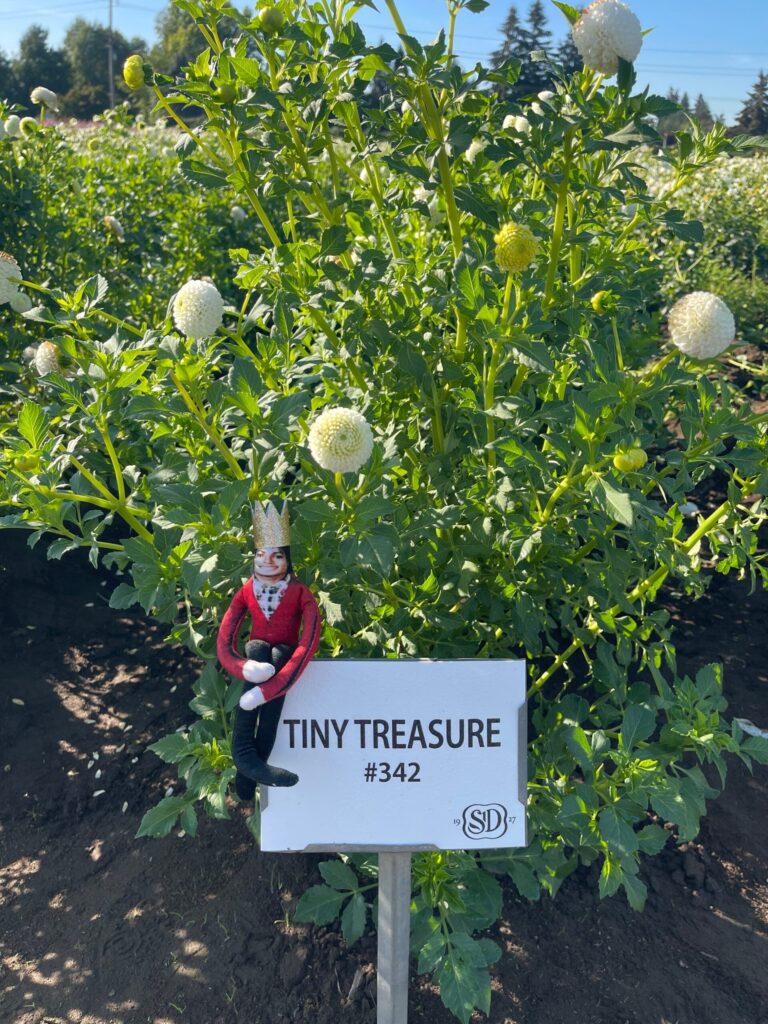
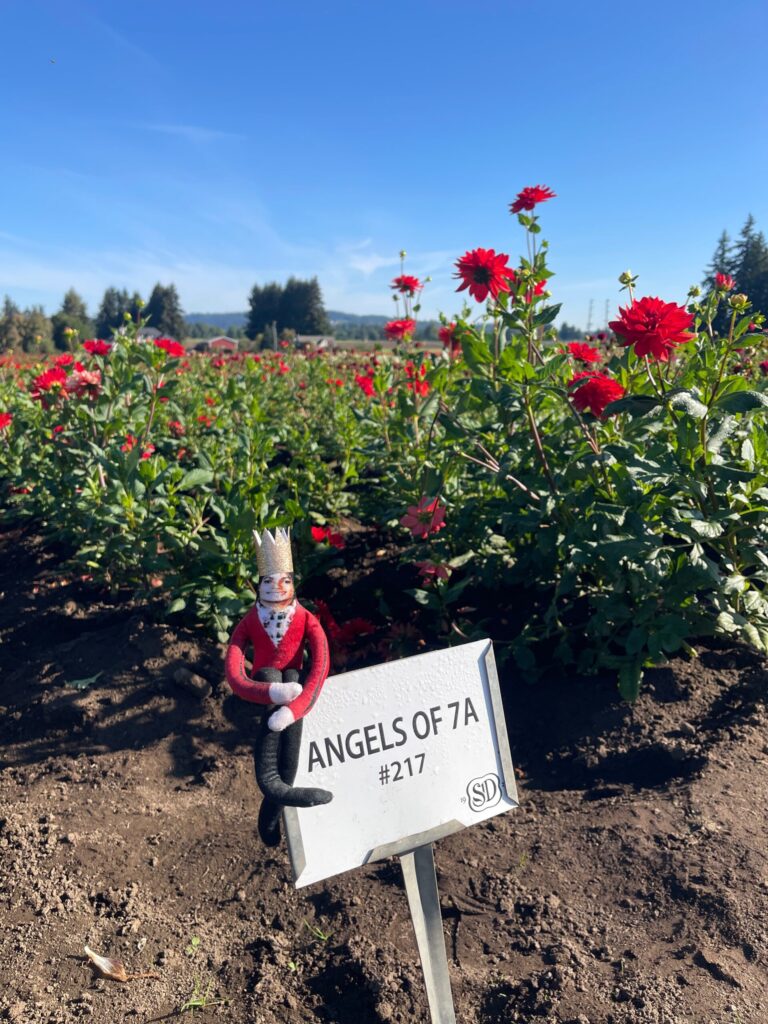
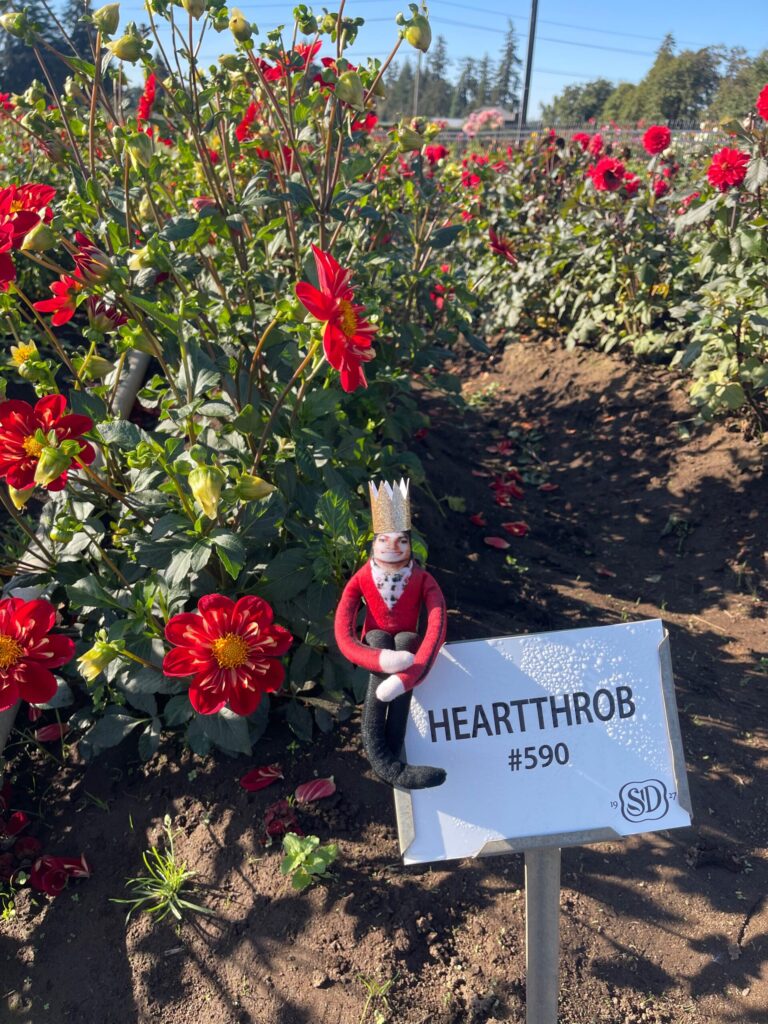
This enormous photo dump of a post is brought to you by my visit to the 2026 Swan Island Dahlia Festival on Michael Jackson’s Birthday Eve (Friday), a field trip I’ve been meaning to take for the last four summers. I went early (right when they opened), stayed for two and a half hours, and could’ve stayed longer had I not had to leave to make it to an appointment. I will absolutely be back.
Along with my phone, I brought my Instax and a disposable camera. I’d planned to bring the disposable with me to the festival last summer, as evidenced by that May 2025 date stamp on the Post It note stuck to the packaging. I didn’t because I didn’t go. And of course, even though I remembered to bring it with me on Friday, I didn’t take very many photos with it. Oh well. I’m excited to see how the few I took turn out, once I use up the few remaining exposures and have the roll developed.
I thought about bringing my “real” camera (an old Canon Rebel I bought at Target about 12 years ago). Because I was already carrying the Instax and the disposable and my phone and a water bottle and a bunch of other shit in my small tote bag, I didn’t. I wish now that I had. Almost all of the photos I took on Friday, I took using my phone. They turned out fine enough. I think my DSLR—or even a pocket-sized, point-and-shoot digital camera— and I could do better.
The two best things about the festival: it’s free to attend (and to park!), and I saw Michael there twice.
All of the photos in the post are straight out of my iPhone. No editing, no cropping, no resizing, etc. I say this to reiterate my belief that you don’t need a “real” camera to document your life and the things that are important to you. Is a DSLR nice to have? Yes. Is it necessary for the average, everyday person, or for memorykeeping? No.
A couple months ago, I saw on the r/foundpaper subreddit this collection of playing cards, each of which was found by OP on the street over the last five years or so. Immediately, I thought, How fun and cool!! and Why didn’t I think of that!!And then I realized I kind of had (I’m using “kind of” very loosely here).
Back in 2024, I set a goal to go on more walks. During those walks, I encountered quite a bit of detritus and ephemera from daily life. Because I’m a sucker for such things, I brought many of those items homes, collecting them in a document box (and then another (and then another)), unintentionally establishing a collection of assorted found items (one man’s trash, etc.). This collection of miscellany includes—you guessed it—playing (and adjacent) cards.
Currently, my collection consists of 65 individual cards made up of five different genres of cards: traditional playing cards, collectible/trading card game cards, cards from party games and family game night games, spiritual cards, and athlete trading cards.
Traditional playing cards make up the bulk of my current collection, with 41 cards from four different decks.
I found most of the cards in my collection on the ground, including this trio of tarot cards that were waiting for me outside of my car after my first-ever field trip through Memory Den—and that definitely weren’t there about an hour earlier when I walked into the store.
Some—the Rider-Waite Six of Cups tarot card, the purple “Faith” card, the “the chart of your own divine self” prayer card (found only two days ago!), and the pack of cards from That Sound Game—I found on utility poles.
The Sasquatch Joker from the Landmark deck is my favorite of the bunch. My favorite cards to find are the spiritual ones. Each time I happen upon one (or three), I get a little burst of excitement and a feeling of good fortune.
Before seeing the Reddit post that inspired this one, I hadn’t realized that collecting found playing cards in general or that collecting them with the specific intent to build a complete deck of 52 unique cards were even hobbies, let alone such popular ones (this, despite my own humble—and less focused—collection of found cards). But of course they are. The internet is full of people who collect cards—mostly traditional playing cards—they find on the street. If you have a brain like mine, be careful when googling. It’s a quick decent into a bottomless rabbit hole. A few favorites:
I appreciate Graham mentioning in his post the act of paying attention to the time in between finding each card, and how the project of constructing a full deck entirely from found cards is a classic example of the coupon collector’s problem, which is a roadblock I’ve been up against since 2018 in my pursuit to find Series 1990 or earlier $50 and $100 bills to add to my collection of pre-color, pre-enlarged heads American bills.
The Reddit post that inspired this one has also inspired me to be more intentional about my found-card collecting. I like the unexpectedness and slowness of the process (the thrill of the hunt, some might say), and I think it’ll be fun and rewarding to build a deck from found cards, with each card originating from a different deck, and to expand my current collection of found cards, made up of different types of cards, not just playing cards. Who knows what other adventures, curiosities, and side quests will pop up along the way.
Who else remembers last June when I shared a little bit about my family’s most enduring holiday tradition along with a peak inside the mini album I’ve slowly, surely been making to document it and also a little bit about my process for the project and then ended the post basically promising that I’d be back in November with an update?
The update: There are still two small things that need to be done. (1) I still haven’t figured out the title page. My idea—which I outlined in the first post about this project—is to type up a brief blurb about the tradition on white textured cardstock. I’ve sat down to draft said blurb a billion times and haven’t yet found the arrangement of words I’m looking for that all fit on the page. (2) I’ve also yet to decide what I’m going to do about the date stamp issue for the first two years/photos. Aside from those two things, I’m caught up with this project.
The delay: Despite it being obvious from the outset that I didn’t have enough to do so, I was dead set—and I mean inflexibly, stubbornly dead set—on using only scraps of gift wrap from Christmases past as backing for every photo. I went through the first four stages of grief several times before finally progressing to stage five and letting that idea go. Then, I became dead set on using only holiday-themed gift wrap. I figured I’d just buy enough individual sheets and/or rolls of wrapping papers that I liked during the 2025 holiday season to use as backing for the 10 photos that still needed it. Turns out, I either didn’t like the options at any of the stores I went to, or the scale of the patterns wouldn’t work well when sized down to 3×4. In June of this year, I decided it was more important to me to make progress on this project than to let it stall out, and ended up using holiday-themed digital scrapbooking papers that I printed at home onto thin cardstock to back the remaining photos.
Here’s a look inside at most of the pages.
That first “page” is a Photo Flip pocket that I filled with a few pinches of Build-A-Bear stuffing, a Build-A-Bear heart, some red and gold star confetti, and some strings of gold thread. I cut off the top and sewed it shut using gold thread. I think it’s so cute, I love it so much. The patterned paper is a letterpress greeting card that I cut to size. I’m genuinely sorry to report that in the course of writing this post I learned the Photo Flips have been discontinued.
In 2019, our group grew by one with the addition of my kids’ step-sister.
2020—the last year we were all in the same place for the holidays, unbeknownst to us at the time. In the years since, we’ve spread across the U.S. and the five of us (my three kids, their step-sister, and myself) are now in three different states.
In 2021, my oldest came to visit me in Portland for Thanksgiving. Because it was our only chance to do so together that year, we went to Build-A-Bear during her visit.
The following month, I flew back to D.C.-ish to spend Christmas with my two youngest and their step-sister and we did Build-A-Bear while I was there. It felt weird to split it up, and I’m so grateful we found a way to keep the tradition alive.
In 2022, spread amongst three states over the holidays for the first time, we all went to our local Build-A-Bear on the same day and shared photos with each other afterward. This was the first year I didn’t get my standard from-behind shot of any of the kids, and the first year that my oldest began bringing a friend. It felt even weirder this year than it did the year before, and also I’m very grateful we again found a way to keep the tradition going.
In early 2022, my youngest and his step-sister (and my co-parents) moved to a place without a Build-A-Bear (sad!). Since then, every year I FaceTime during our visit here so they can pick out what they want, and then I ship them their stuffed animals and whatever accessories, if any, they choose. My oldest (and whichever friend she brings that year) continues to go to her local Build-A-Bear on the same day that my middle child and I go here, and we share photos with each other afterward. The tradition continues to evolve.
This year’s photos will begin here. Fingers crossed that whichever one is first pairs well with the “ho ho ho” paper.
The final “page” you see here is one of the many gift cards we’ve purchased at half price over the years, slipped into a 3×4 Photo Flips (RIP) with the top cut off.
(For every $25 you spend during any given Build-A-Bear purchase, you can buy a $10 gift card for $5 (I think this applies only to in-person purchases). We usually spend around $100 each year, sometimes a little more, so each year we walk away with $40 or $50 of gift cards for $20 or $25. I use the gift cards to fund basically half of the following year’s purchase. For the first years of this tradition, Costco sold $100 worth of Build-A-Bear gift cards for, depending whether they were on sale, $70 or $80. I’d also buy these, for a little extra savings.)
* * *
The backs of the first 10 photos are mostly wrapping paper from Christmases past. A few are scrapbooking papers from my stash (both digital and physical) that are no longer available.
The next 10 papers are all digital scrapbooking papers that I printed at home. Most of them are still available.
*Papers with an asterisk are part of the same paper pack. If you’re new to digital scrapbooking supplies, that means you pay a flat price ($5 in this case) for multiple .jpgs of various different patterned and/or solid papers. The two paper packs linked above that are sold by Hey Scrapper offer variants with different colors for some of the patterned papers included in the pack; these color variants are not shown in the product photos on the website (for example, the red and white floral pattern (third option in the top row in the photo above) is included in the linked pack but is not shown in the product photo).
If you print your digital scrapbooking papers at home, a benefit is you can play with the scale of the pattern to suit your preferences and the project’s dimensions. You also have infinite access to digital papers you purchase—you can print them over and over, for use in as many projects as you want, forever. A drawback is that, unless you have a professional printing setup, the paper quality and color vibrancy won’t be on par with professionally printed gift wrap or scrapbooking paper. You can see this in the two photos above: in the first, every paper is professionally printed and the patterns look brighter and sharper; in the second, every paper was printed at home onto cheap cardstock by a basic inkjet photo printer and look a bit muted and less crisp.
* * *
Where to find physical holiday-themed scrapbooking papers: Aside from your local craft supply store and Michaels (and the like), you can find a large selection of physical holiday-themed scrapbooking papers at Scrapbook.com in both individual sheets and paper packs. Often, their individual sheets are double-sided, with a different print/pattern/color on each side.
Where to find digital holiday-themed scrapbooking papers: I think your best bet for digital holiday-themed papers are Hey Scrapper, The Lilypad, and, of course, Ali Edwards’ December Daily product line, which offers both physical and digital options.
A few ways to adapt this project concept: If Christmas isn’t your thing, you might instead use this project concept to document Halloween costumes. Or first-day-of-school outfits. Or birthdays. There are plenty of Halloween-themed and birthday-themed scrapbooking papers out there, and you can pair first-day-of-school outfit photos with so, so many different paper colors, prints, and patterns.
Since she arrived, I’ve been carrying her around my apartment with me like a baby; reading and re-reading all the front matter and supplemental information throughout; asking everyone I know to guess what the last word listed in her is; and having my kids and my friends make a series of choices to arrive at their own personal Word of the Day. Everyone is so sick of me!!!
I’m also using the occasion to once again evangelize about a few of my favorite books about books and words. Ywfms 🫡
Kory is a lexicographer who worked at Merriam-Webster for more than a decade, helping to write the dictionary. This book, which came out in 2017, and which I of course preordered months before its publication, is such a fun read. I truly wish I’d known when I was younger that working with words in this particular way is a job I could have pursued.
Studying Early Printed Books, 1450-1800: A Practical Guide by librarian, book historian, and bibliographer Sarah Werner. My autism is on full display with this recommendation, which is more academic than the other titles on this list. I don’t think it’s dry or overly technical, and I also know it won’t be everyone’s cup of tea.
Earlier this summer, something in the street caught my eye while I was walking to the library and when I went over to check it out I was so charmed by what I saw.
A pothole filled to look like the beloved PDX carpet of yesteryear (#RIP, #neverforget)!!! HOW FUN!!! I snapped a few photos, texted them to a couple friends, made note of the friendship bracelet beads that spell out “BUFFALO POTHOLE BANDIT,” and went on my way. I thought nothing more of it until the other week when I came across another Buffalo Pothole Bandit installation while running an errand in Montavilla.
And then another.
And another.
And another.
And another.
And another.
At first, I was simply charmed. Now, I was also intrigued: Who is this person? When did they start making art of the city’s potholes? Why? Are there more of these little installations throughout the city?
The Buffalo Pothole Bandit is a street artist from Buffalo, New York, who began turning potholes into mini art installations in their hometown four years ago: “Since 2022—when they nearly twisted their ankle in front of Breadhive—the Buffalo Pothole Bandit has been turning local roads into public art. ‘I bought a bag of cold patch for $20 because I didn’t want to twist my ankle again.'”
In addition to Buffalo and Portland, they’ve made pothole art in Ithaca, Burlington, Birmingham, Chattanooga, Columbus and Cleveland, New Orleans; and Warren, Pennsylvania. There’s a map of all of their installations; it lists 156 as of this post.
From the map, I learned there are TWENTY Buffalo Pothole Bandit installations on the stretch of street in Montavilla, which means I spotted only about a third of them. There are also a handful of others throughout the city. Once I learned this, I decided to go on a side quest one morning last week to find them all.
First, I went back to Montavilla and hunted down the 14 I missed the first time around. All 20 are in the span of only two blocks and still it took me several passes to find them all. Some of them are so tiny!!
Then, I headed up to the two locations on the map in North Portland, across the river to the two locations on the map in SW, then back across the river to the two locations on the map in SE.
Before heading home, I stopped at the PDX carpet installation to get a couple close-up photos.
With the exception of the two-block stretch in Montavilla that’s home to 20 BPHB installations, all the other locations on the map have one or two—I think. I’m not sure. In all, I found 29 of the 30 in Portland. In theory, it’s possible one of the locations has three. One of these days, I’ll figure it out.
At the end of July, a friend and I took a day trip to Seattle to visit a store we learned about via an Instagram reel in April. It was my first time traveling (“traveling”) in years and I loved it. It was so much fun!! I want to go back!! For longer!!
We didn’t stay for long, we didn’t do a whole lot, and I didn’t take many photos. And yet!! We had a great time. The few things we did do: walked up and down the waterfront (which had me missing the boardwalks of the Mid-Atlantic so bad), took a Seattle Underground walking tour (you get a paper ticket!!!), had pizza with the best dough/crust either of us have ever had for lunch, killed some extra time between lunch and a ferry ride at the Klondike Gold Rush museum (no photos), took the ferry to Bainbridge Island and back (another paper ticket!!!), shared a Jimothy’s Trash Bandit Sundae from Molly Moon’s, and, finally, headed to Big Whale Consignment, which was the original purpose of our drive up.
Although we didn’t stay long, do much, or take many photos, it was a great day and the trip was a success. The weather was perfect, the activities were fun, I LOVED being near the water (I miss it beyond words), and I cannot wait to go back and spend a long weekend doing all of the touristy things.