Who else remembers last June when I shared a little bit about my family’s most enduring holiday tradition along with a peak inside the mini album I’ve slowly, surely been making to document it and also a little bit about my process for the project and then ended the post basically promising that I’d be back in November with an update?
Well anyway. I’m back with an update now.
The update: There are still two small things that need to be done. (1) I still haven’t figured out the title page. My idea—which I outlined in the first post about this project—is to type up a brief blurb about the tradition on white textured cardstock. I’ve sat down to draft said blurb a billion times and haven’t yet found the arrangement of words I’m looking for that all fit on the page. (2) I’ve also yet to decide what I’m going to do about the date stamp issue for the first two years/photos. Aside from those two things, I’m caught up with this project.
The delay: Despite it being obvious from the outset that I didn’t have enough to do so, I was dead set—and I mean inflexibly, stubbornly dead set—on using only scraps of gift wrap from Christmases past as backing for every photo. I went through the first four stages of grief several times before finally progressing to stage five and letting that idea go. Then, I became dead set on using only holiday-themed gift wrap. I figured I’d just buy enough individual sheets and/or rolls of wrapping papers that I liked during the 2025 holiday season to use as backing for the 10 photos that still needed it. Turns out, I either didn’t like the options at any of the stores I went to, or the scale of the patterns wouldn’t work well when sized down to 3×4. In June of this year, I decided it was more important to me to make progress on this project than to let it stall out, and ended up using holiday-themed digital scrapbooking papers that I printed at home onto thin cardstock to back the remaining photos.
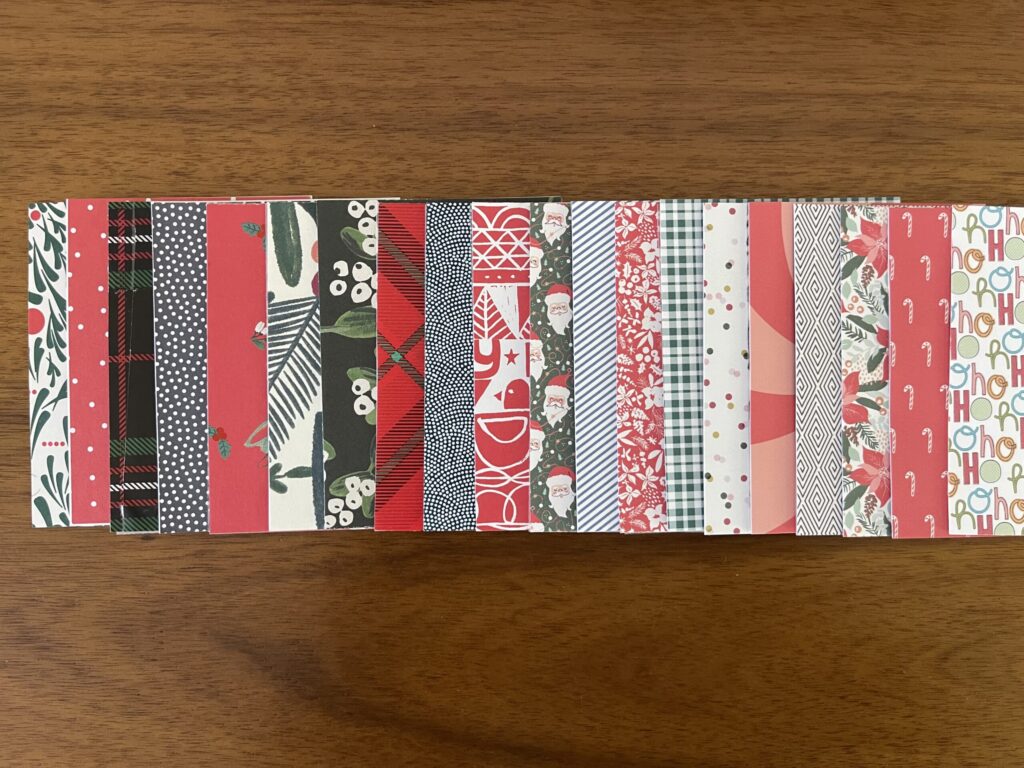
Here’s a look inside at most of the pages.
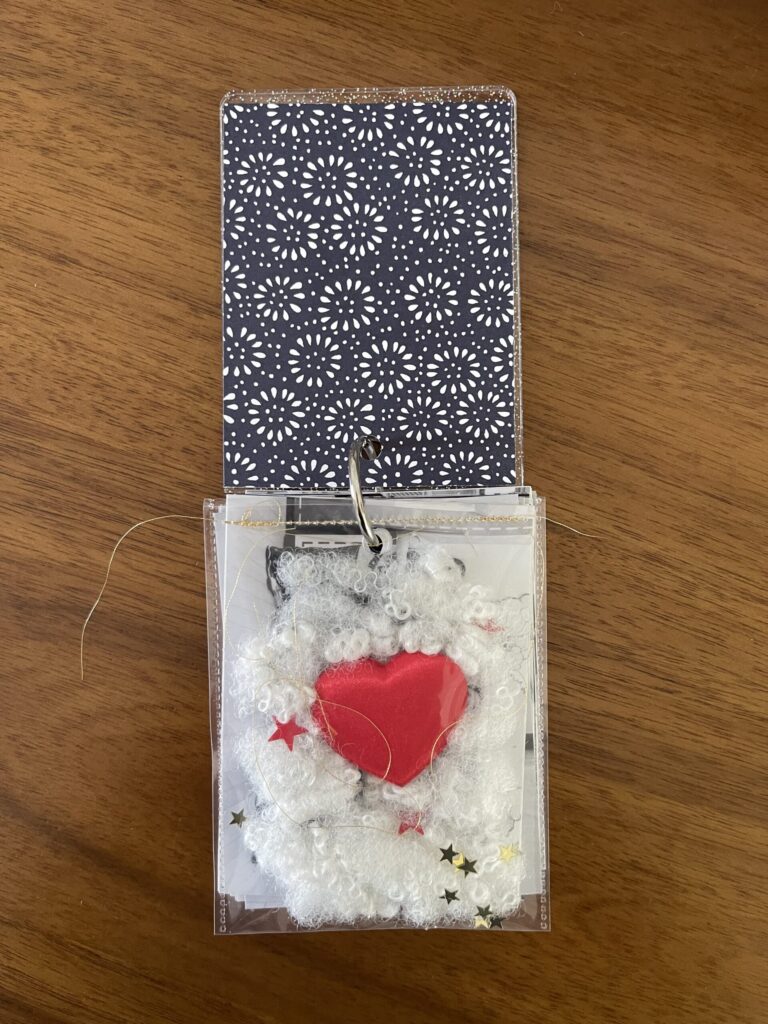
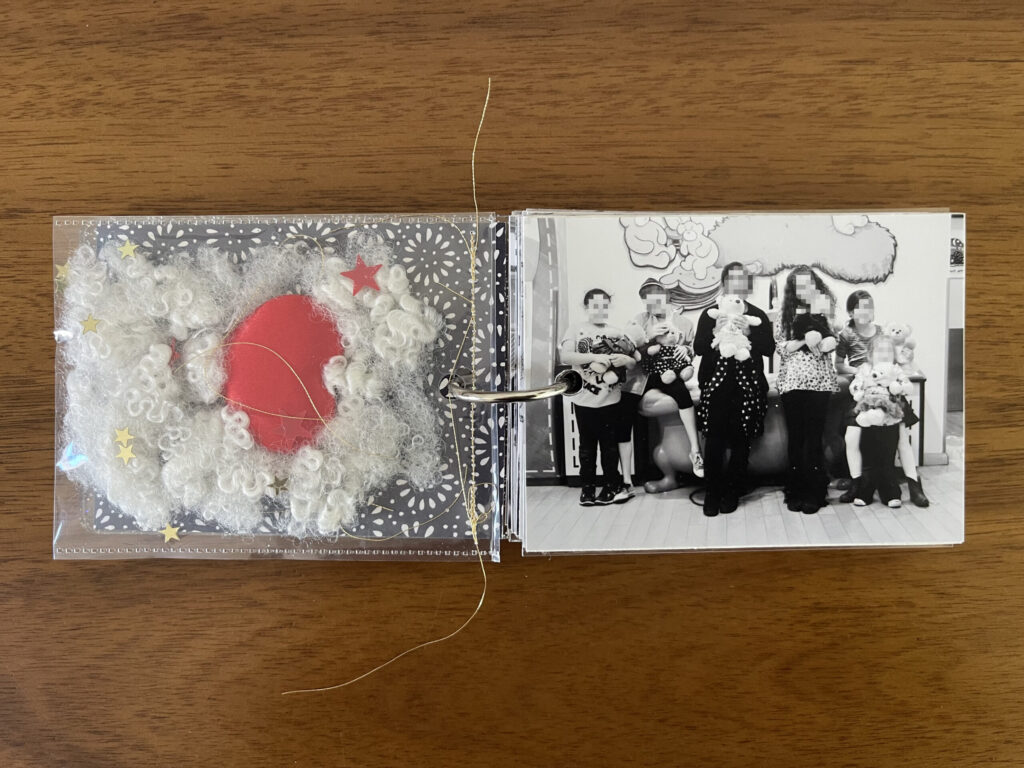
That first “page” is a Photo Flip pocket that I filled with a few pinches of Build-A-Bear stuffing, a Build-A-Bear heart, some red and gold star confetti, and some strings of gold thread. I cut off the top and sewed it shut using gold thread. I think it’s so cute, I love it so much. The patterned paper is a letterpress greeting card that I cut to size. I’m genuinely sorry to report that in the course of writing this post I learned the Photo Flips have been discontinued.
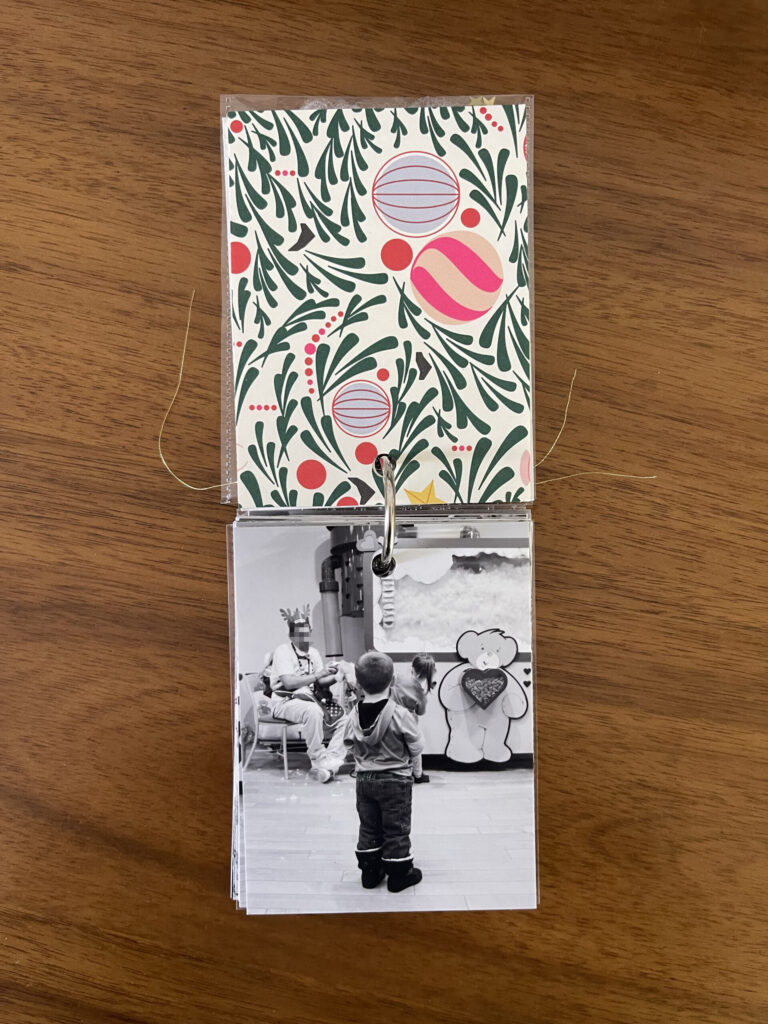
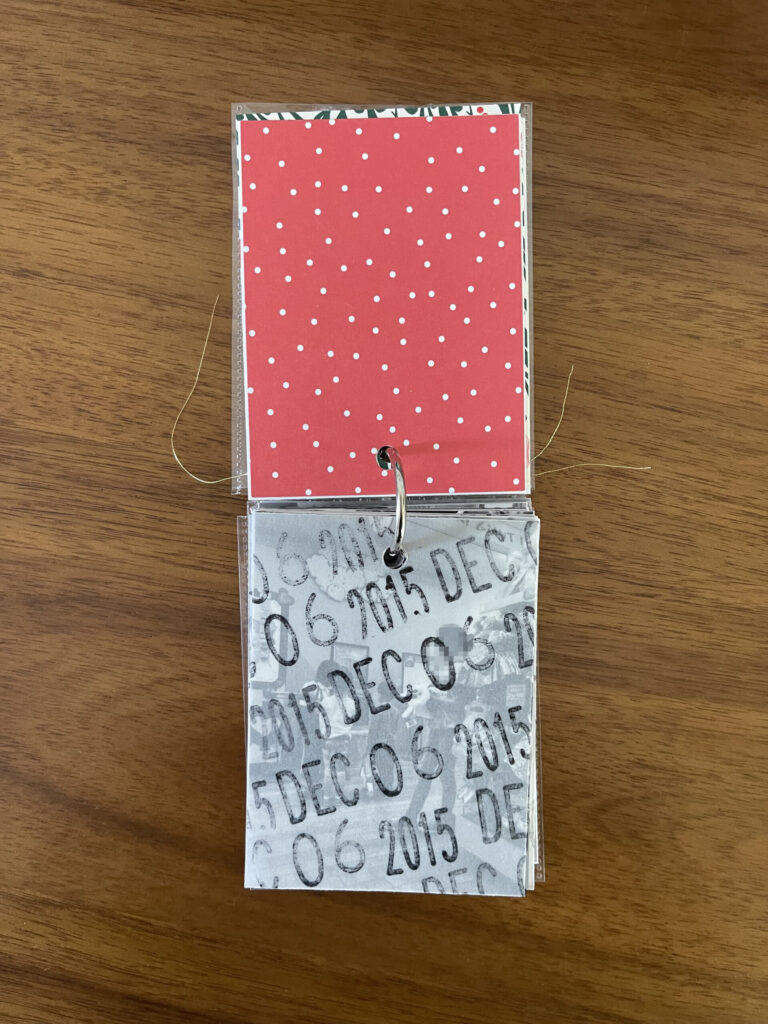
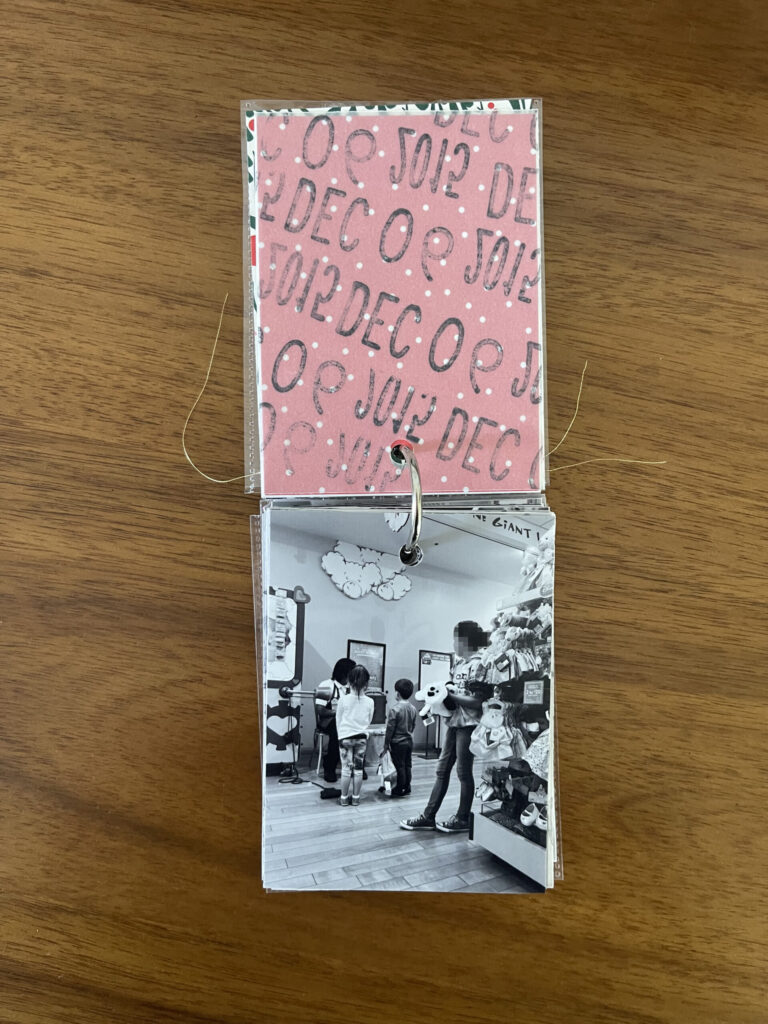
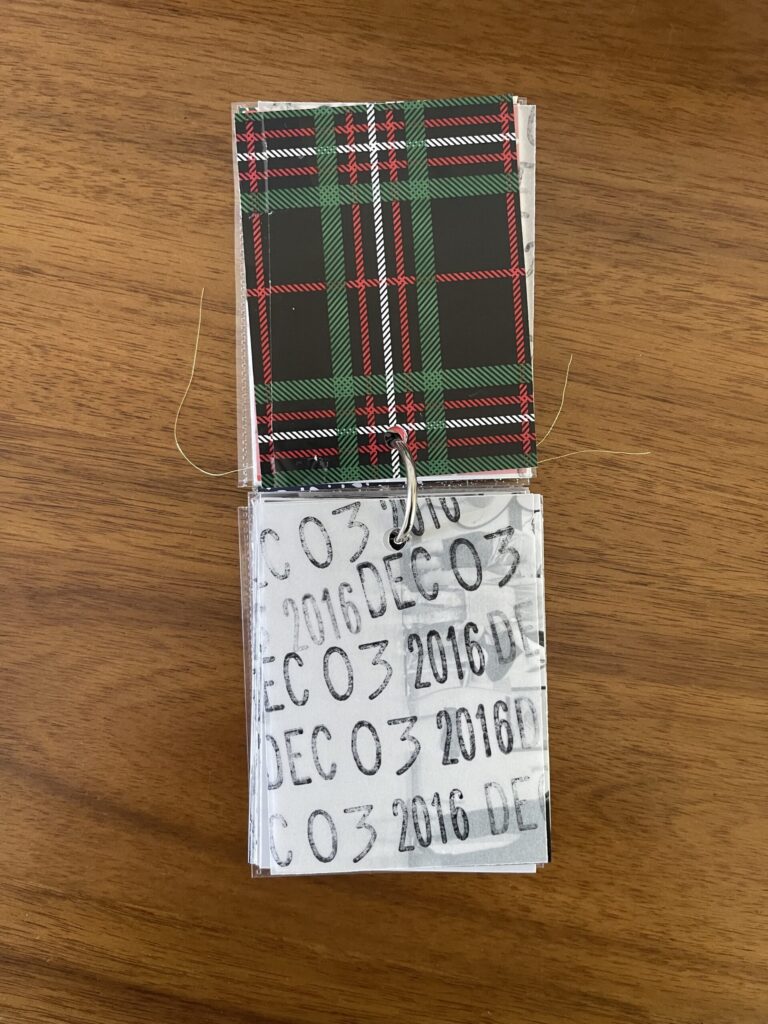
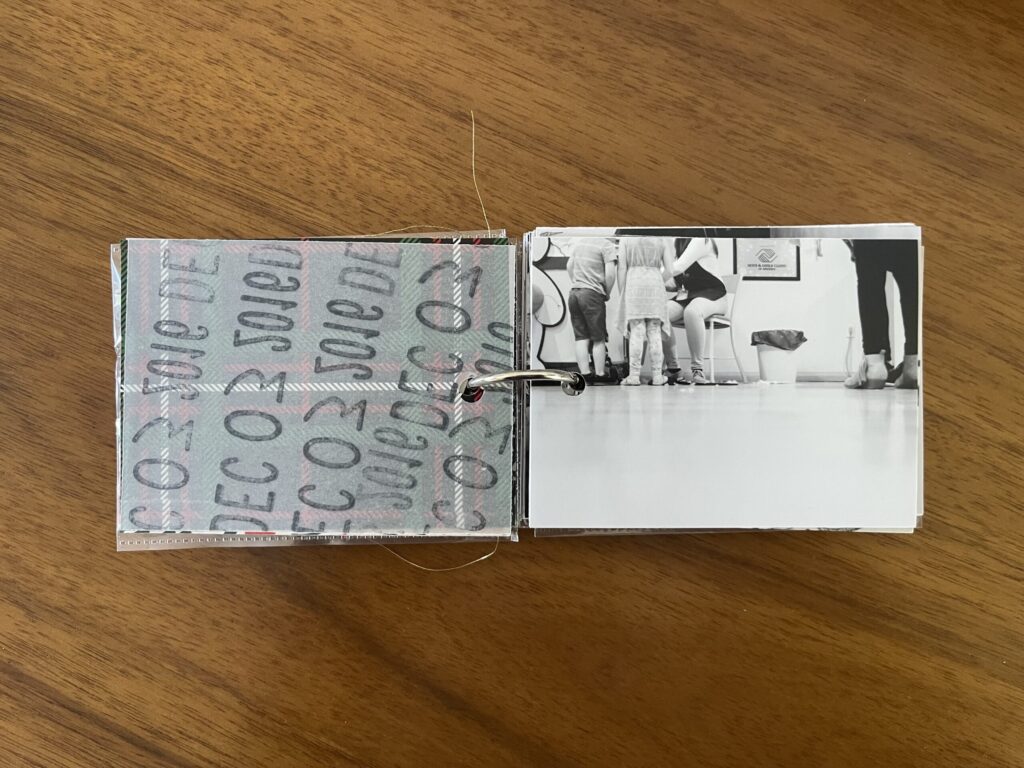
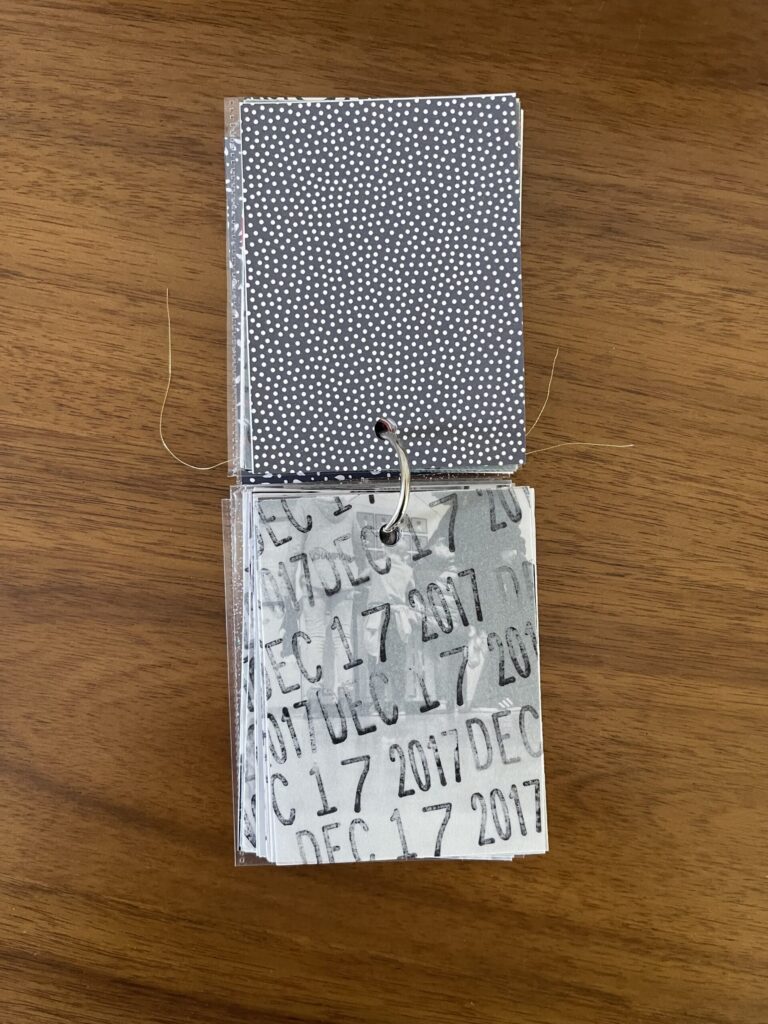
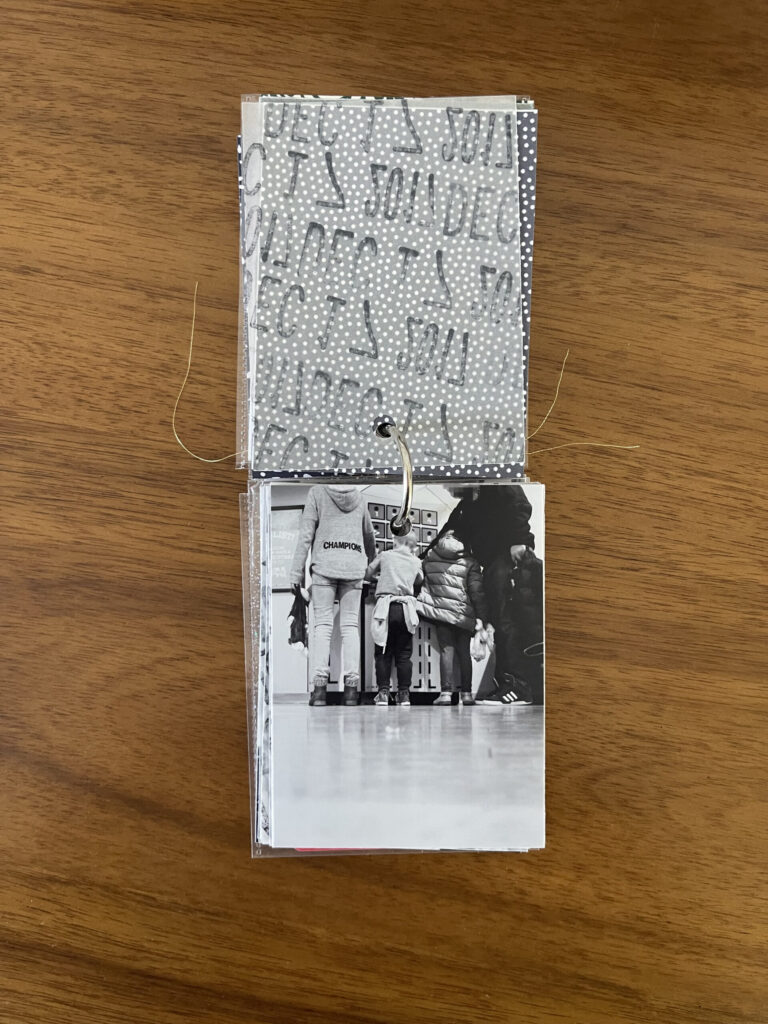
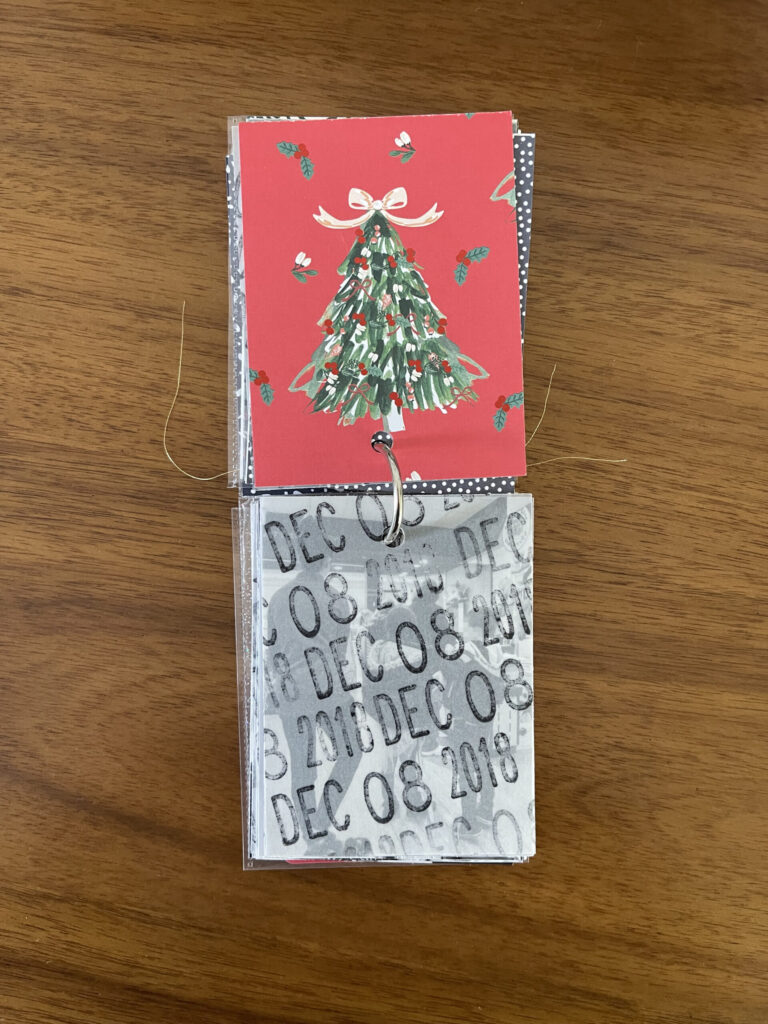
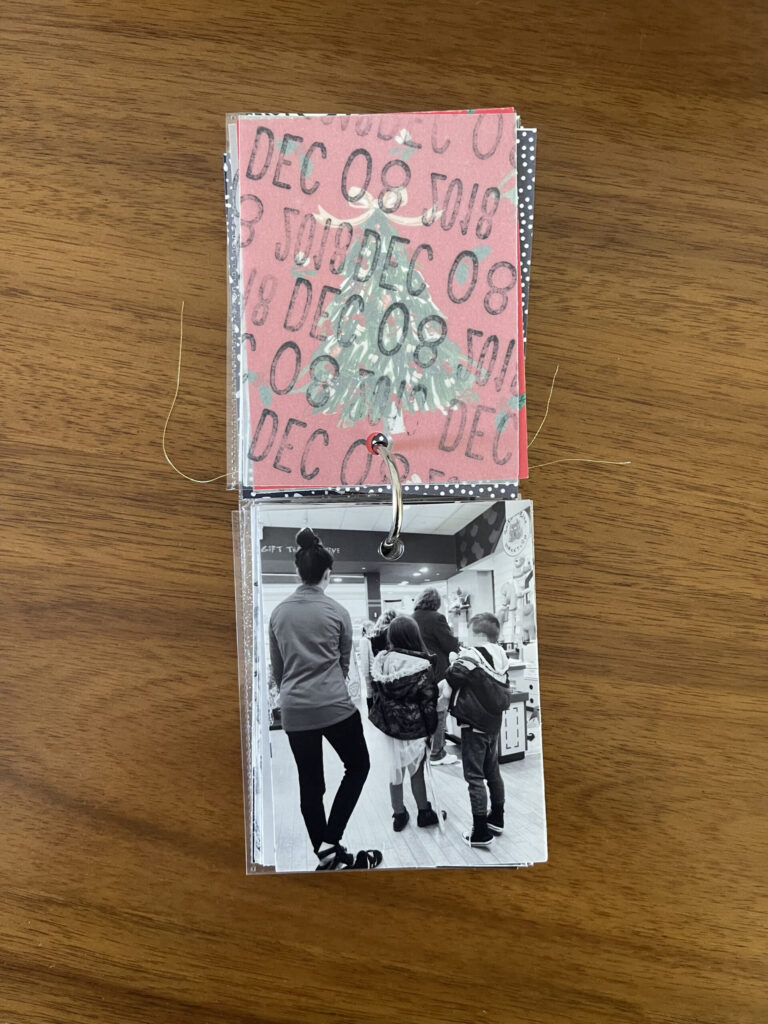
In 2019, our group grew by one with the addition of my kids’ step-sister.
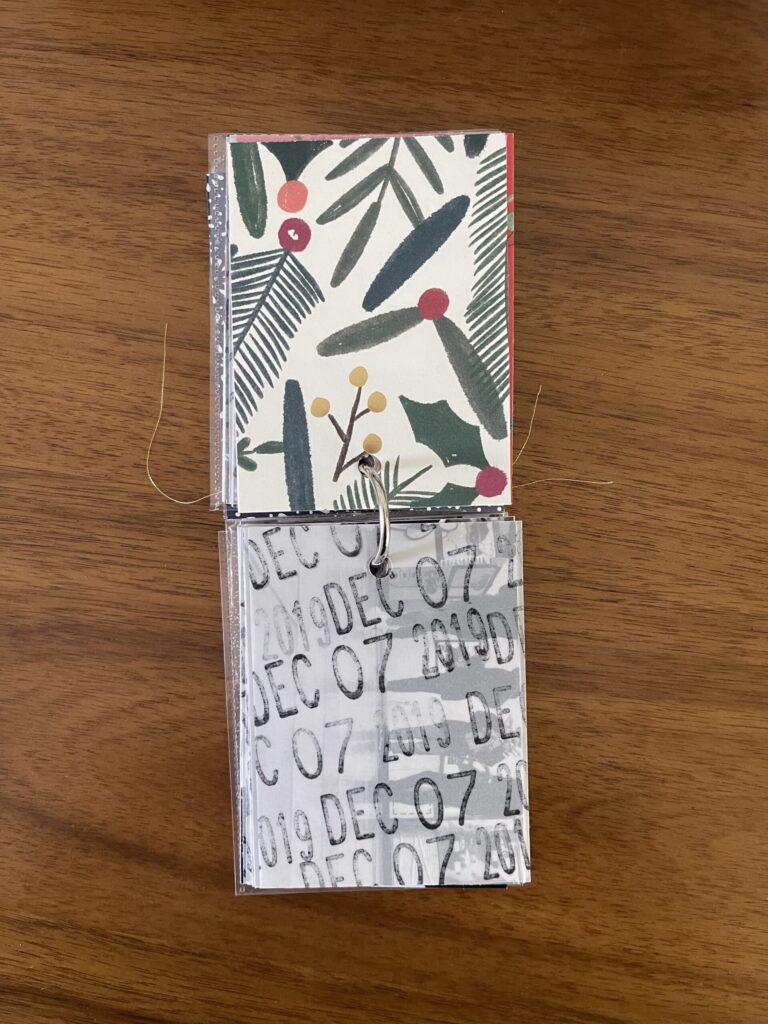
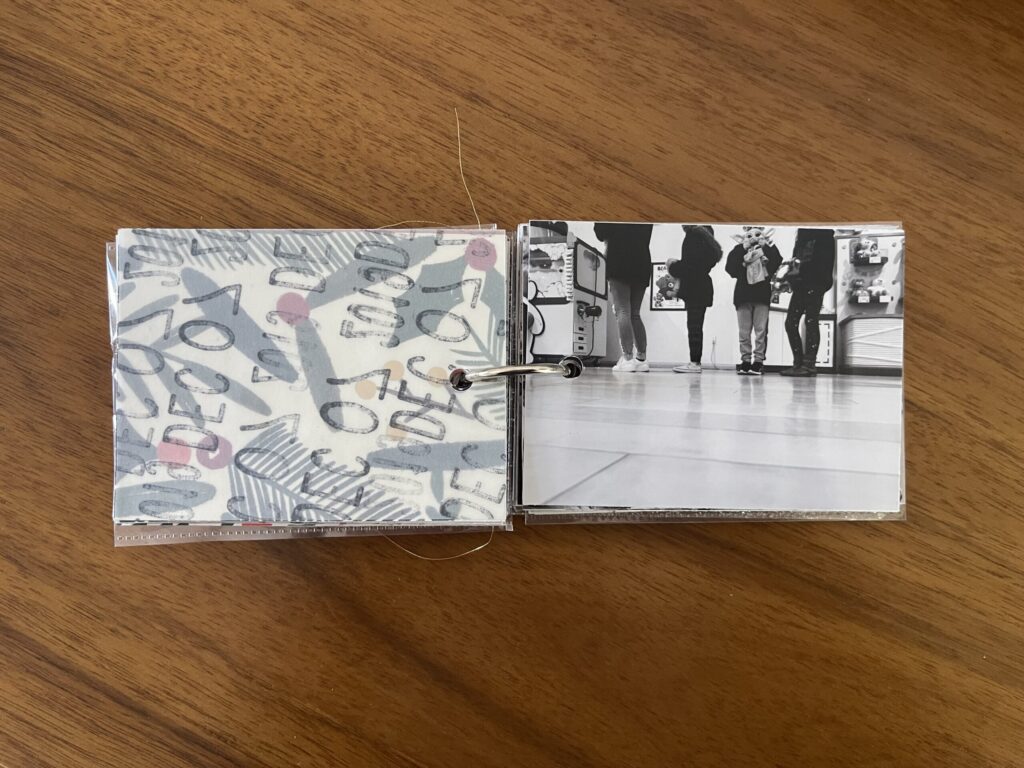
2020—the last year we were all in the same place for the holidays, unbeknownst to us at the time. In the years since, we’ve spread across the U.S. and the five of us (my three kids, their step-sister, and myself) are now in three different states.
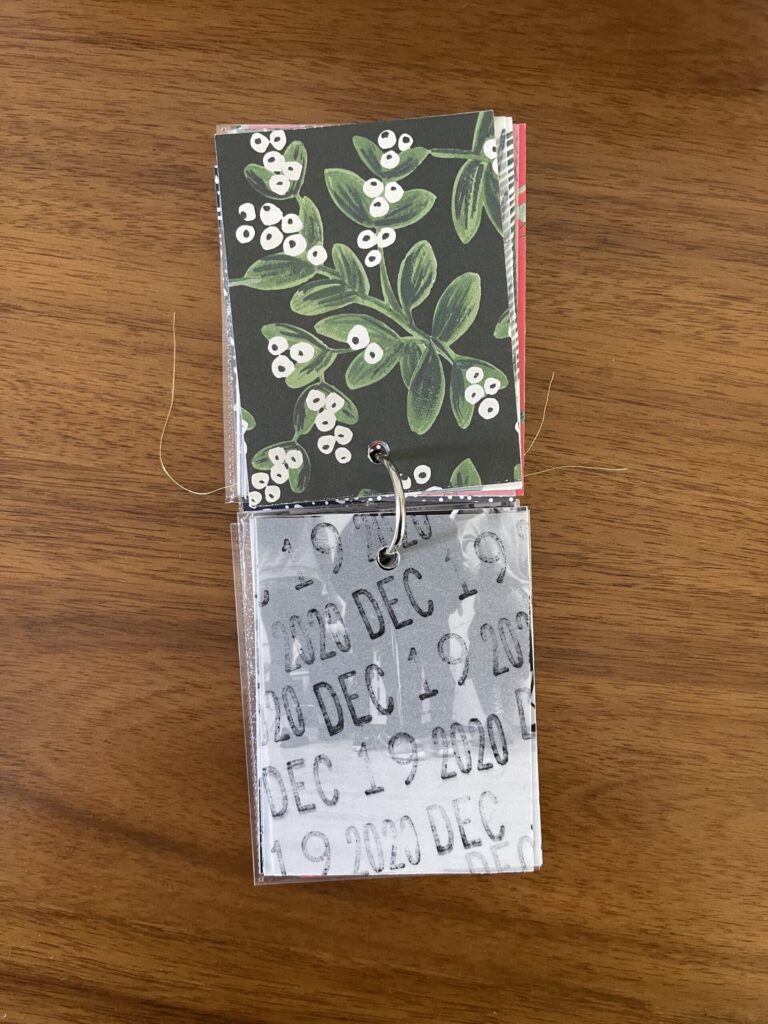
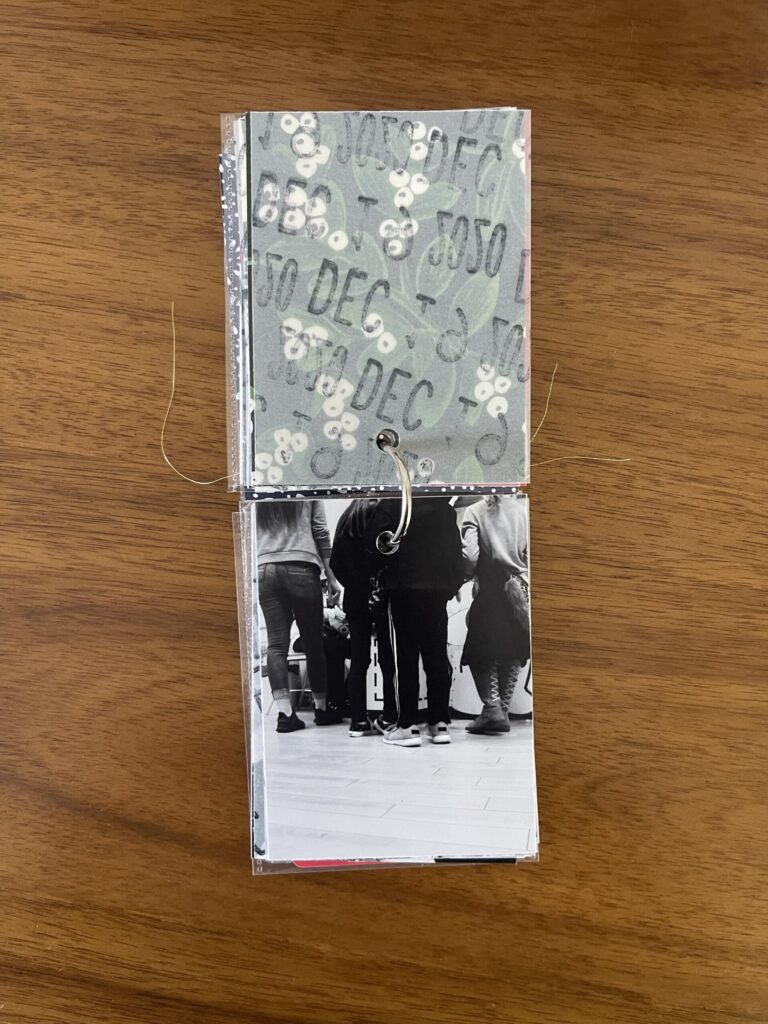
In 2021, my oldest came to visit me in Portland for Thanksgiving. Because it was our only chance to do so together that year, we went to Build-A-Bear during her visit.
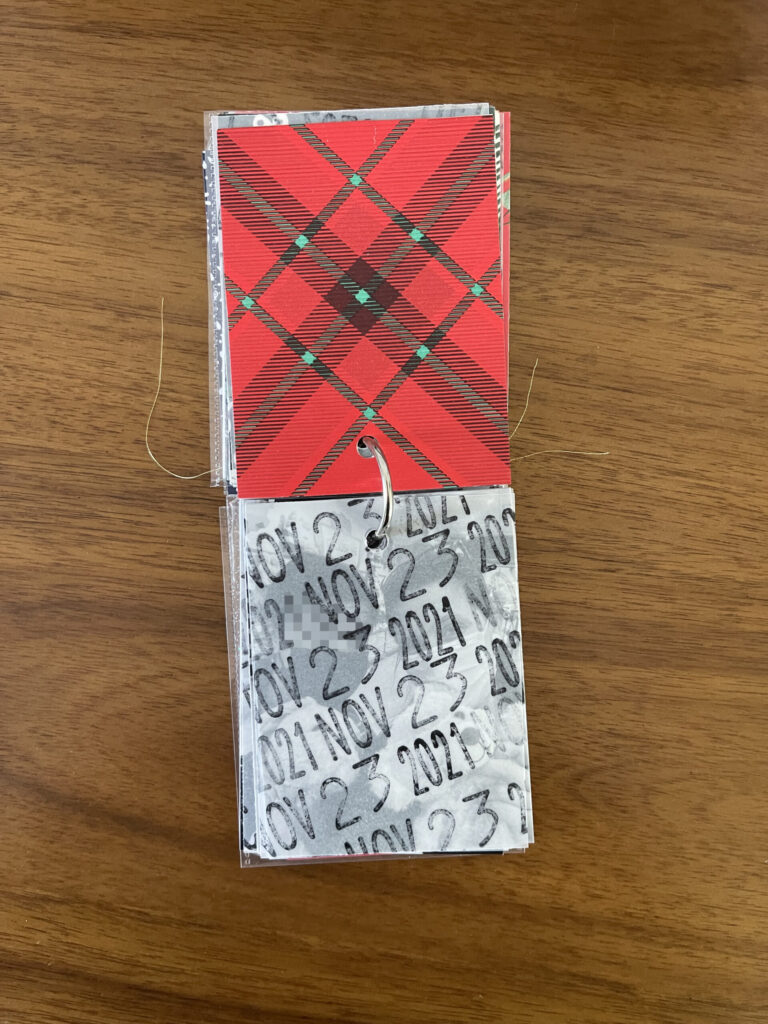
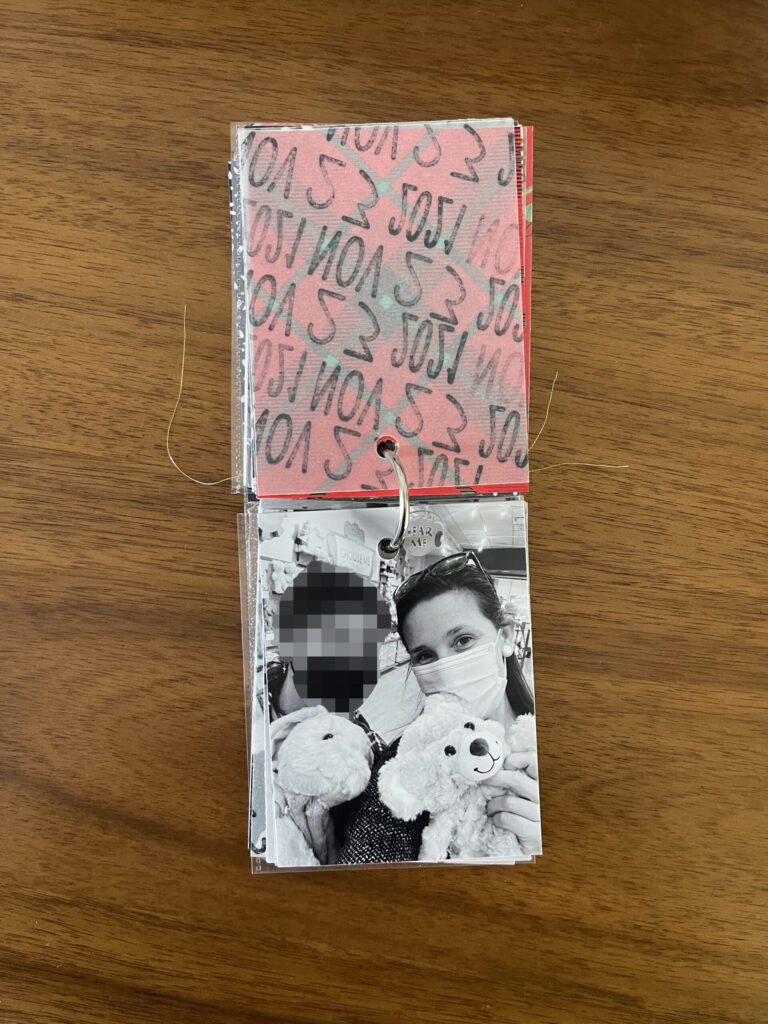
The following month, I flew back to D.C.-ish to spend Christmas with my two youngest and their step-sister and we did Build-A-Bear while I was there. It felt weird to split it up, and I’m so grateful we found a way to keep the tradition alive.
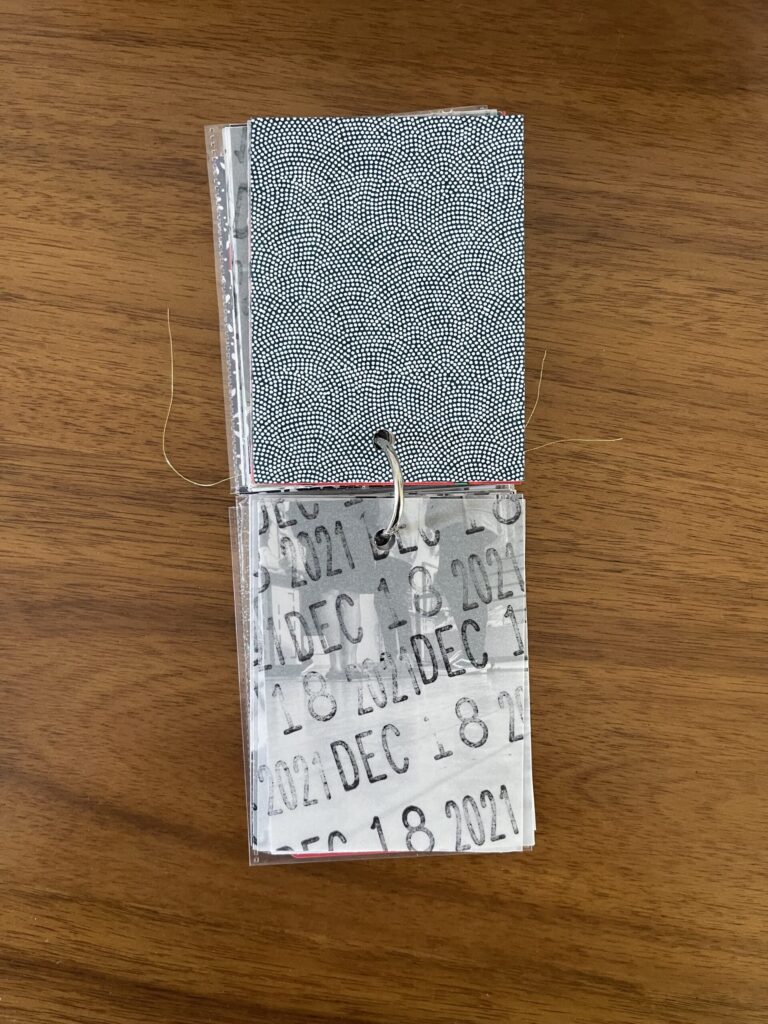
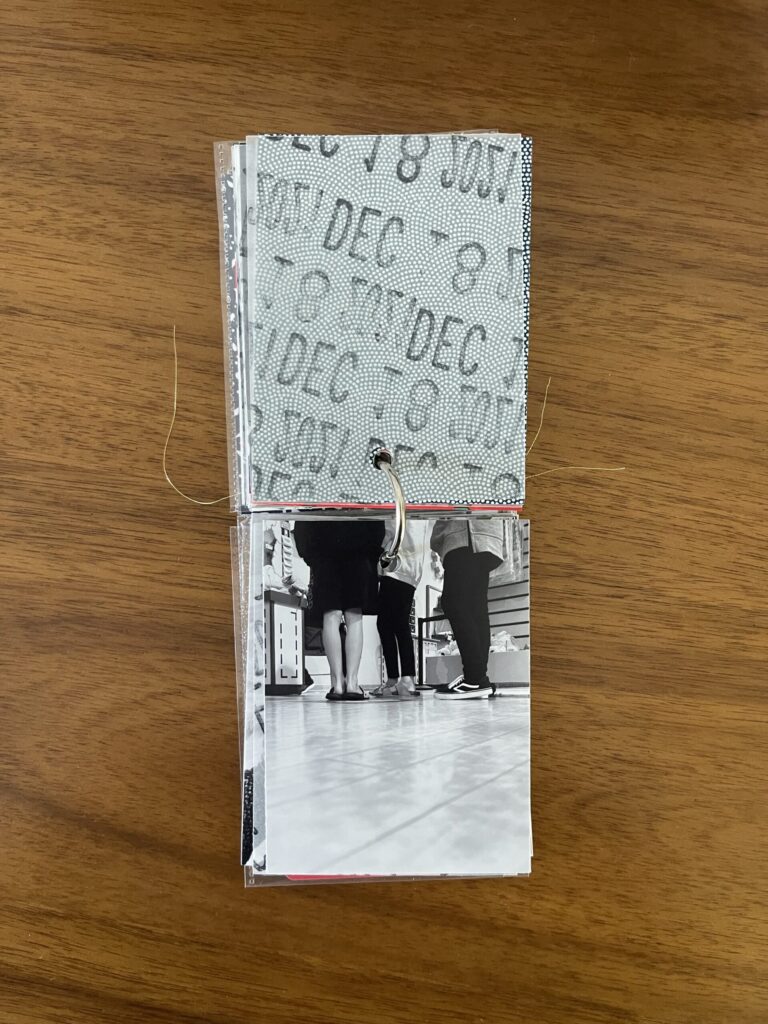
In 2022, spread amongst three states over the holidays for the first time, we all went to our local Build-A-Bear on the same day and shared photos with each other afterward. This was the first year I didn’t get my standard from-behind shot of any of the kids, and the first year that my oldest began bringing a friend. It felt even weirder this year than it did the year before, and also I’m very grateful we again found a way to keep the tradition going.
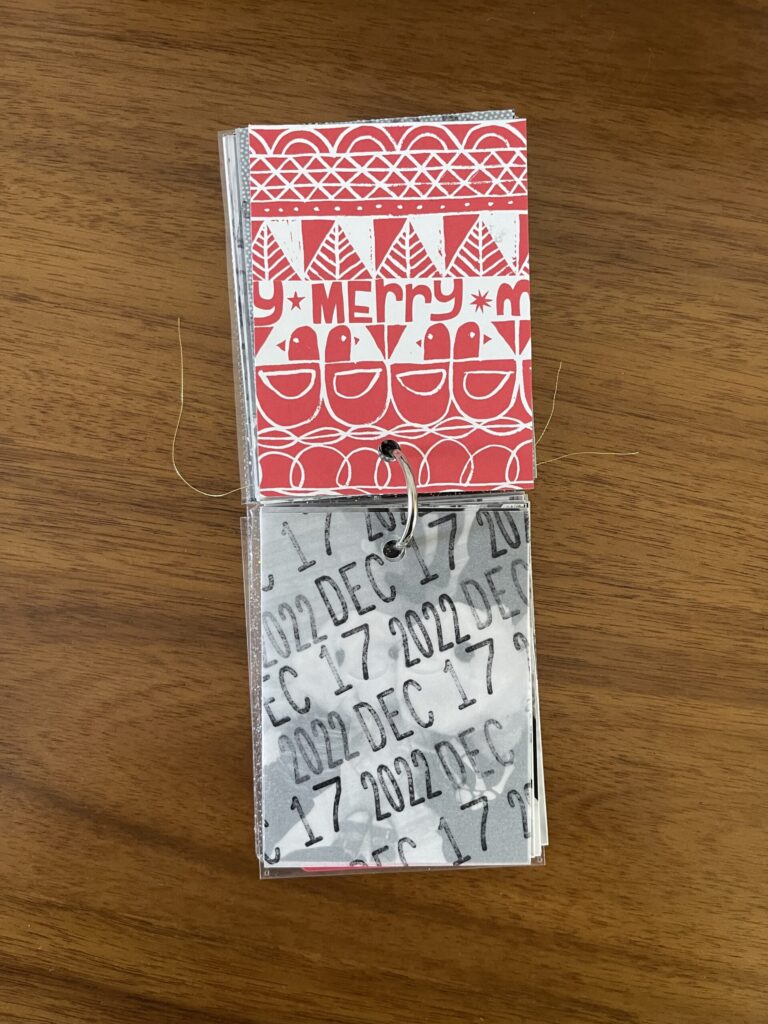
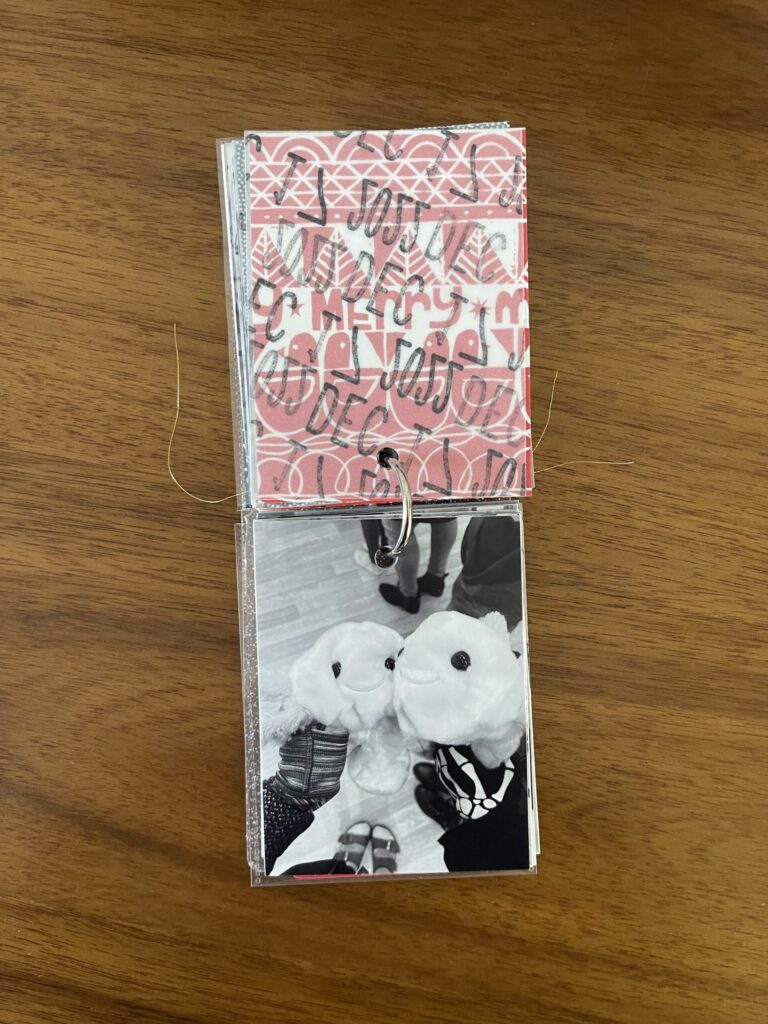
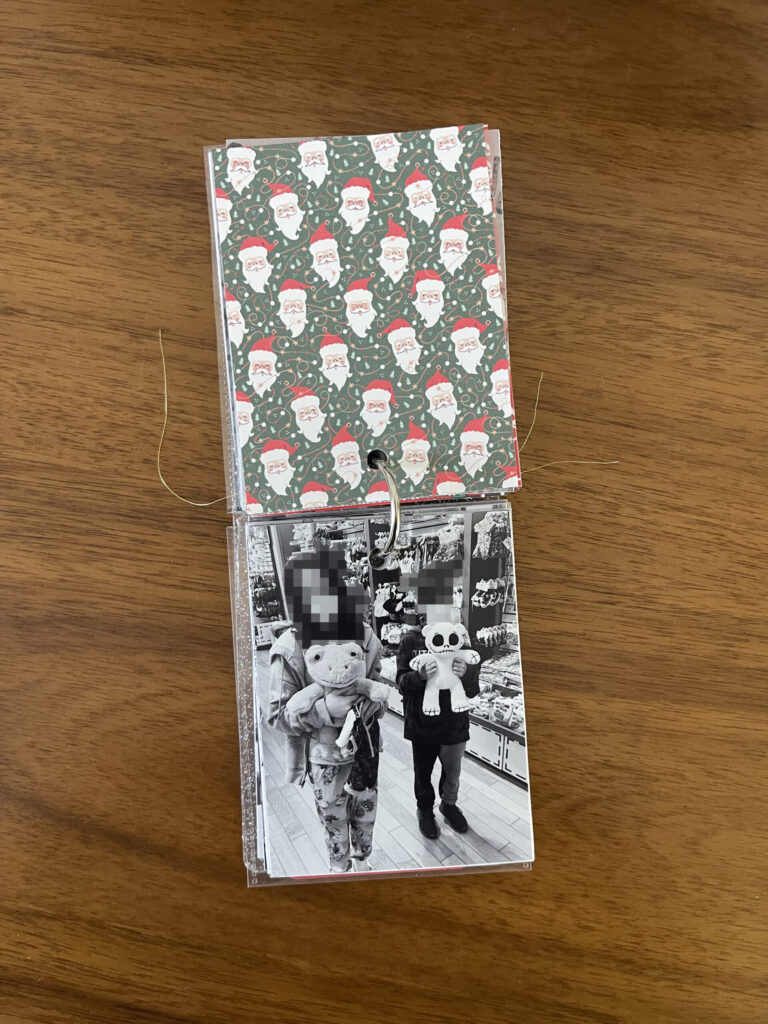
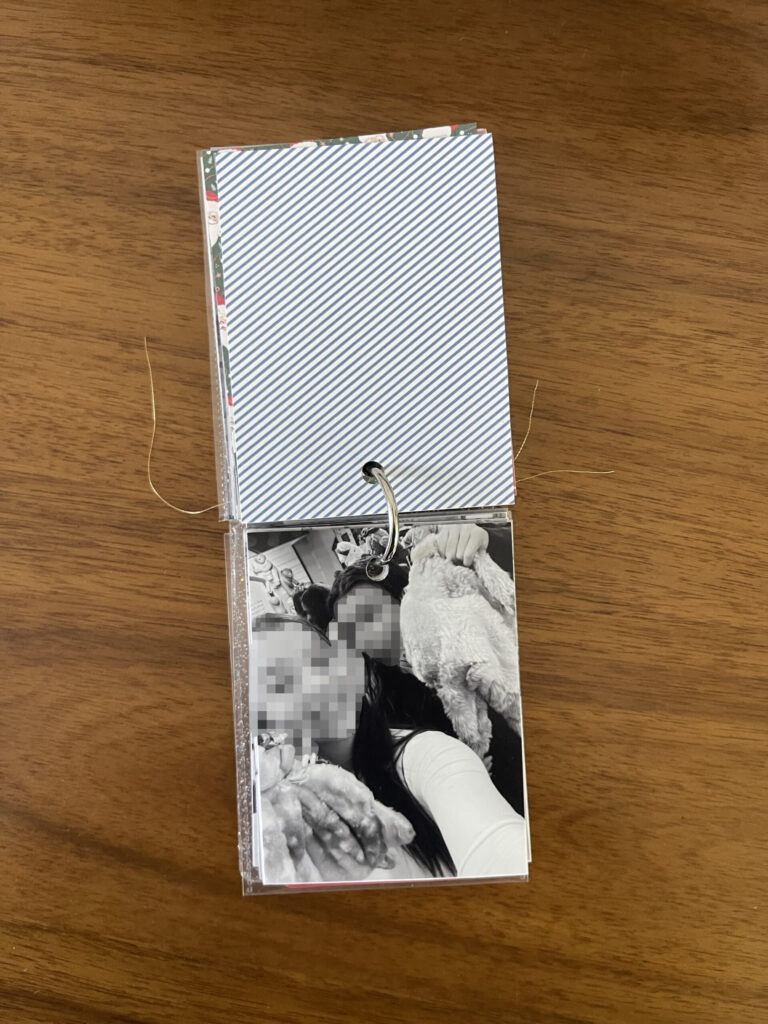
In early 2022, my youngest and his step-sister (and my co-parents) moved to a place without a Build-A-Bear (sad!). Since then, every year I FaceTime during our visit here so they can pick out what they want, and then I ship them their stuffed animals and whatever accessories, if any, they choose. My oldest (and whichever friend she brings that year) continues to go to her local Build-A-Bear on the same day that my middle child and I go here, and we share photos with each other afterward. The tradition continues to evolve.
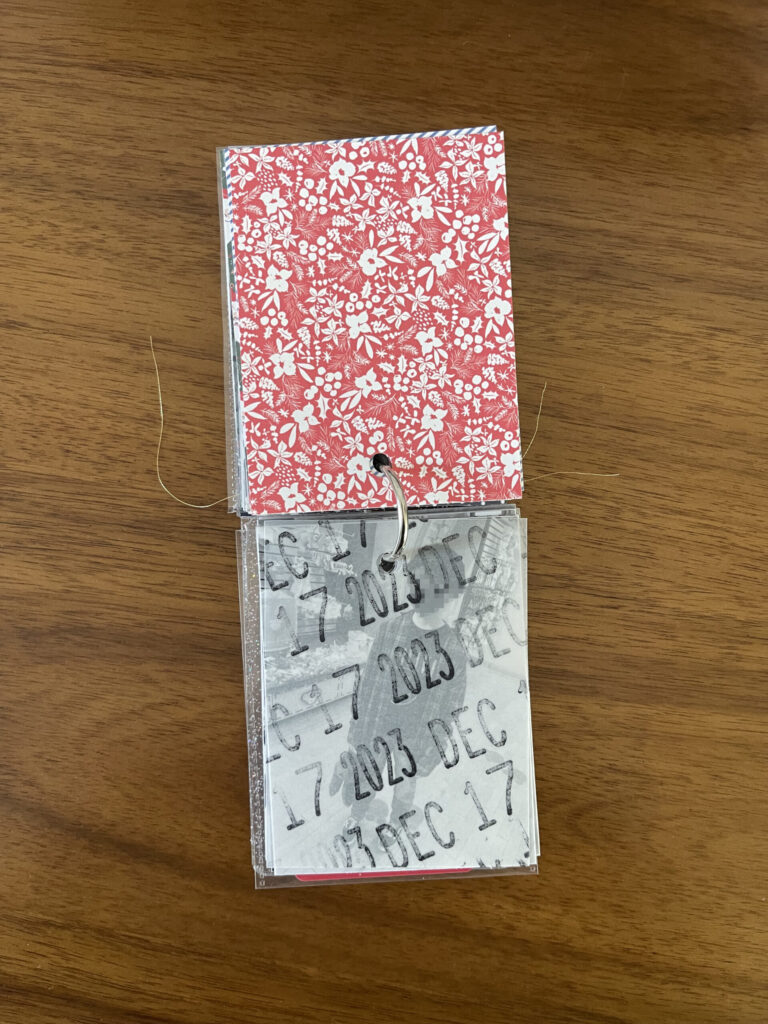
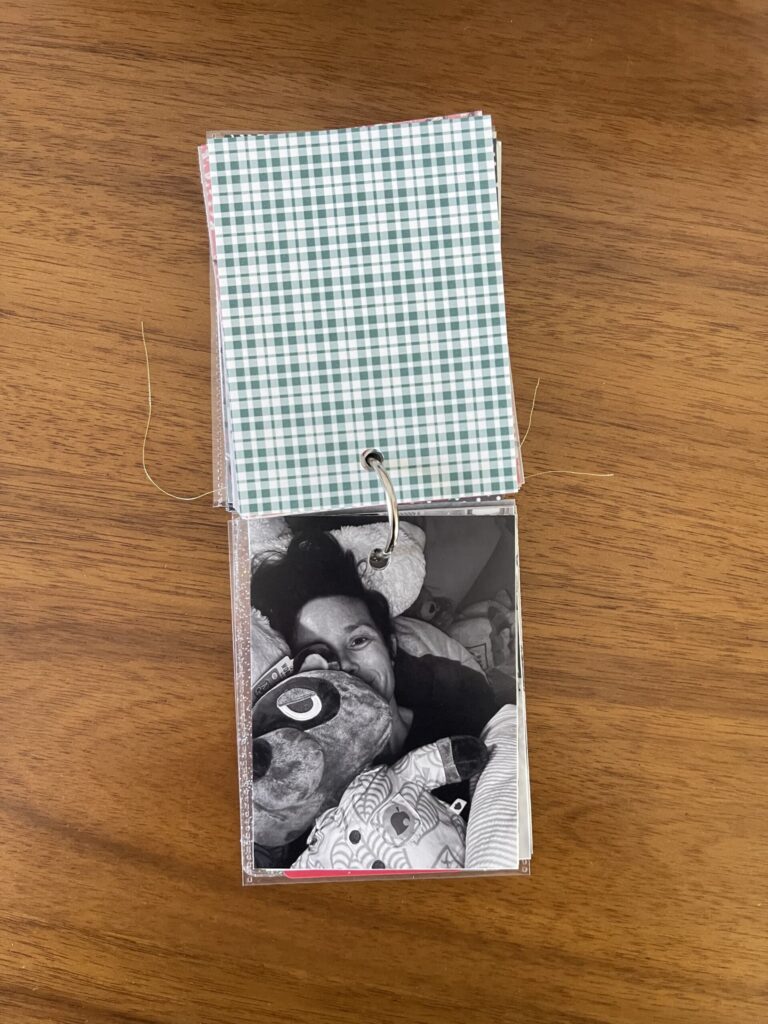
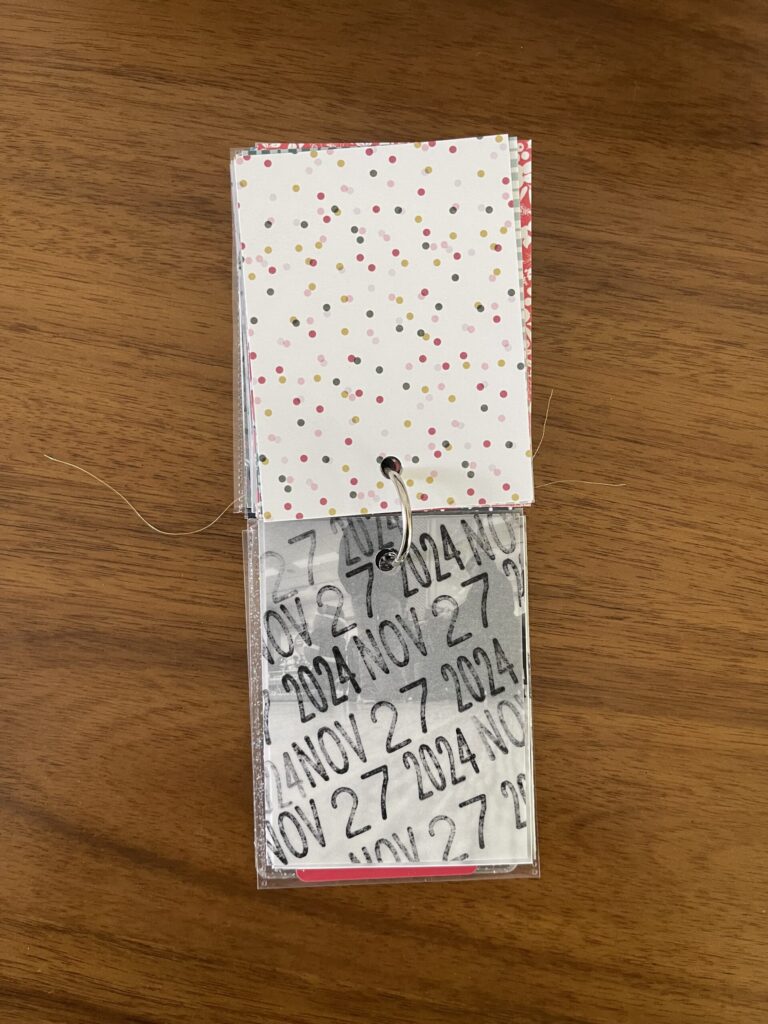
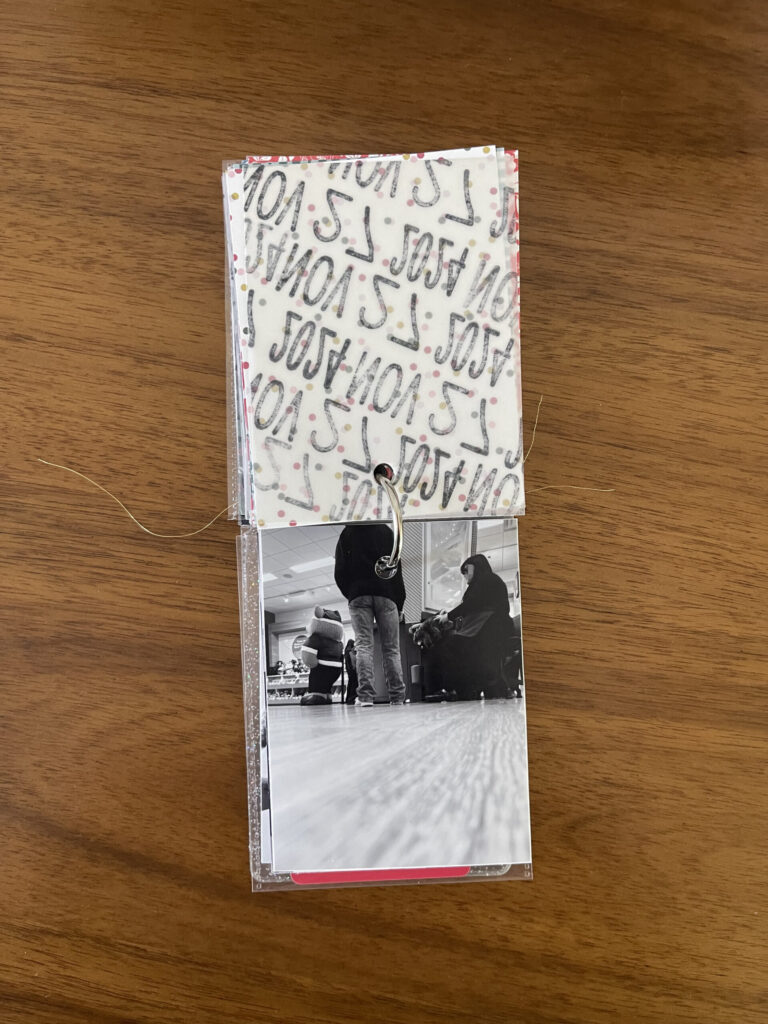
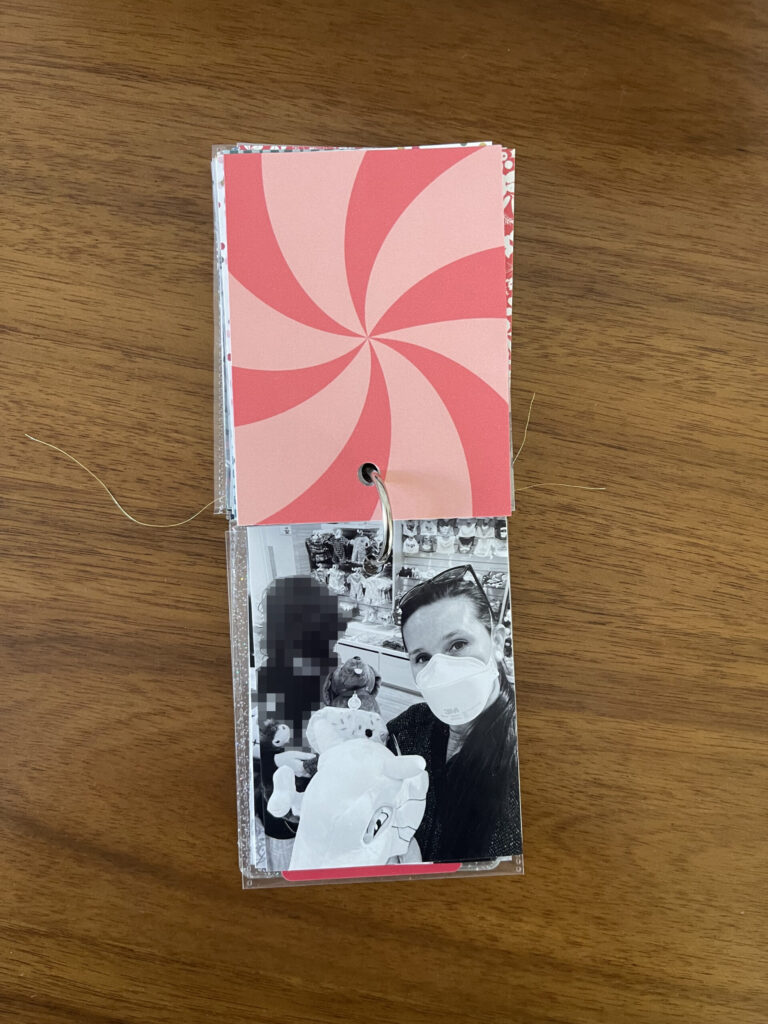
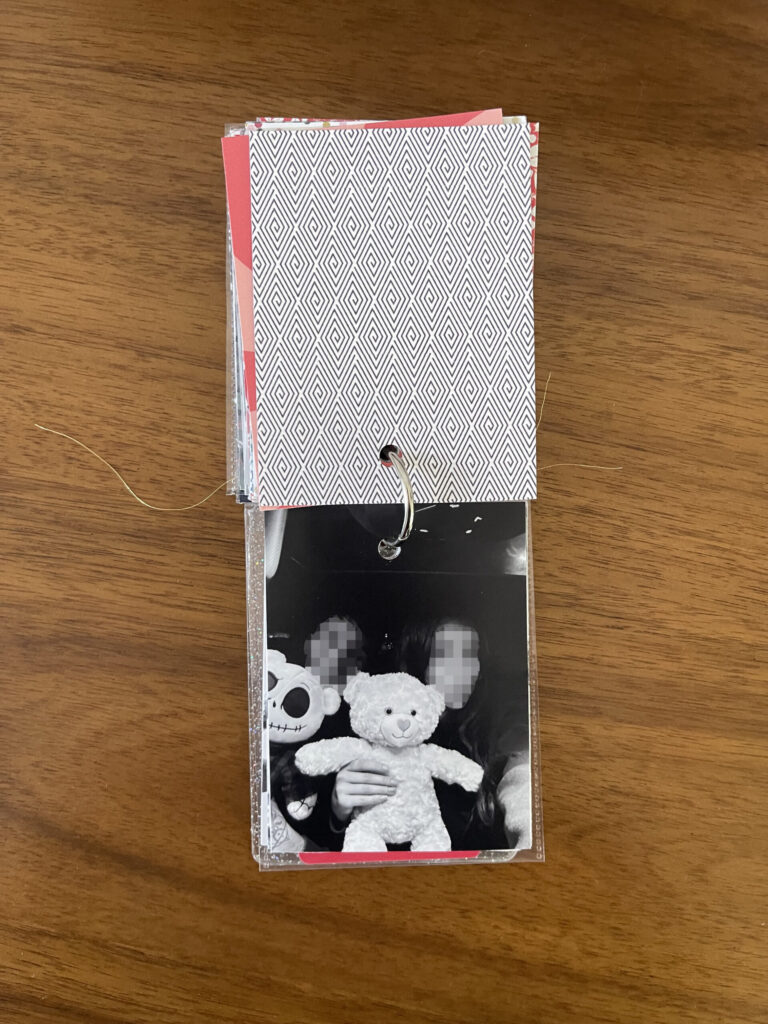
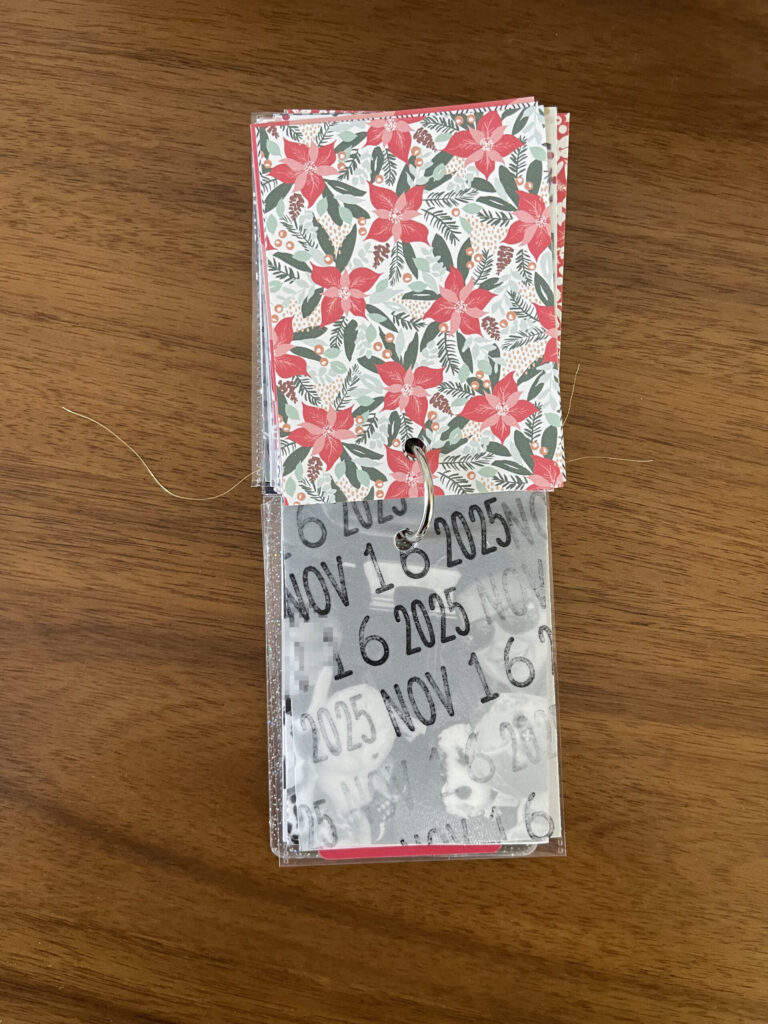
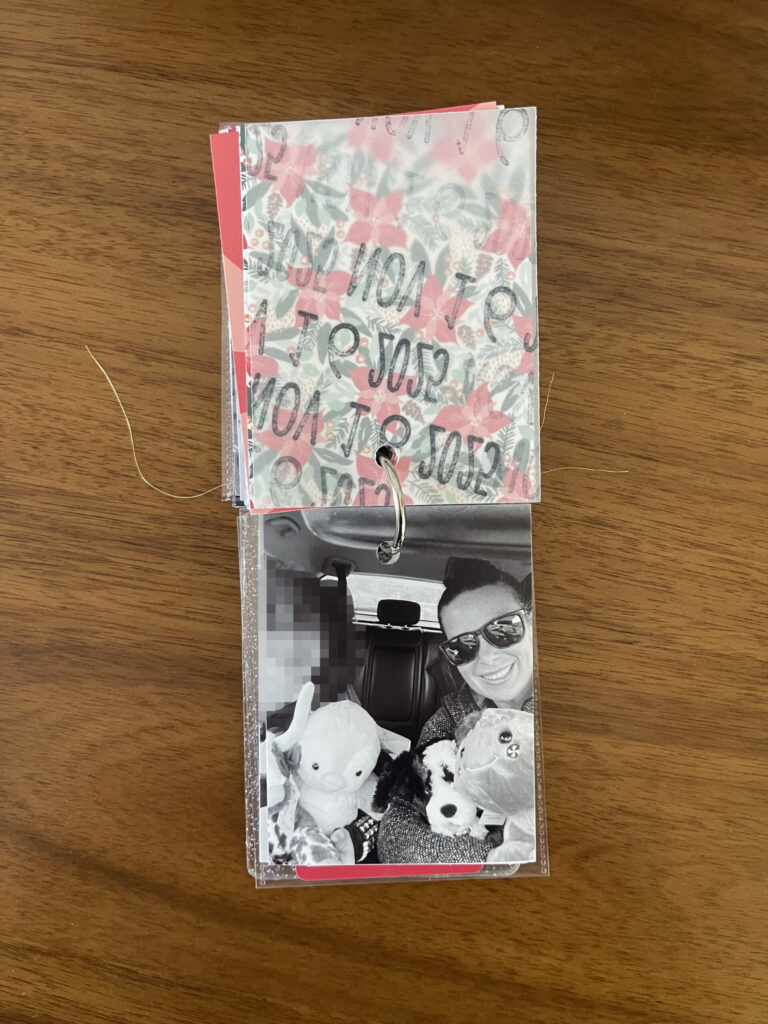
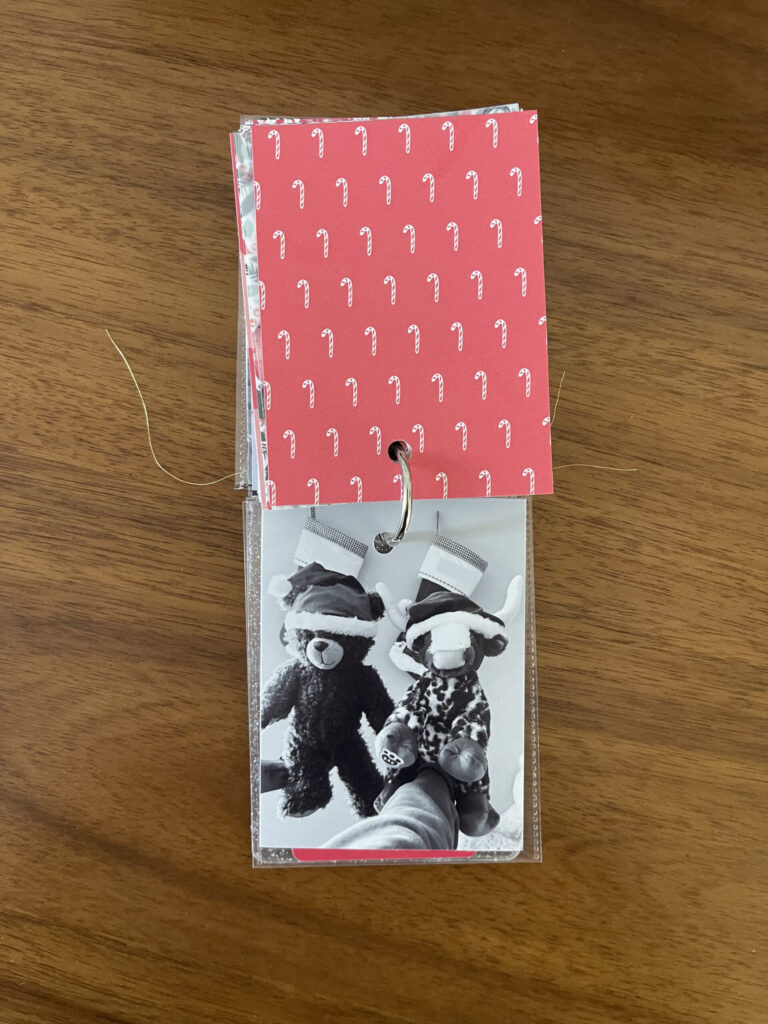
This year’s photos will begin here. Fingers crossed that whichever one is first pairs well with the “ho ho ho” paper.
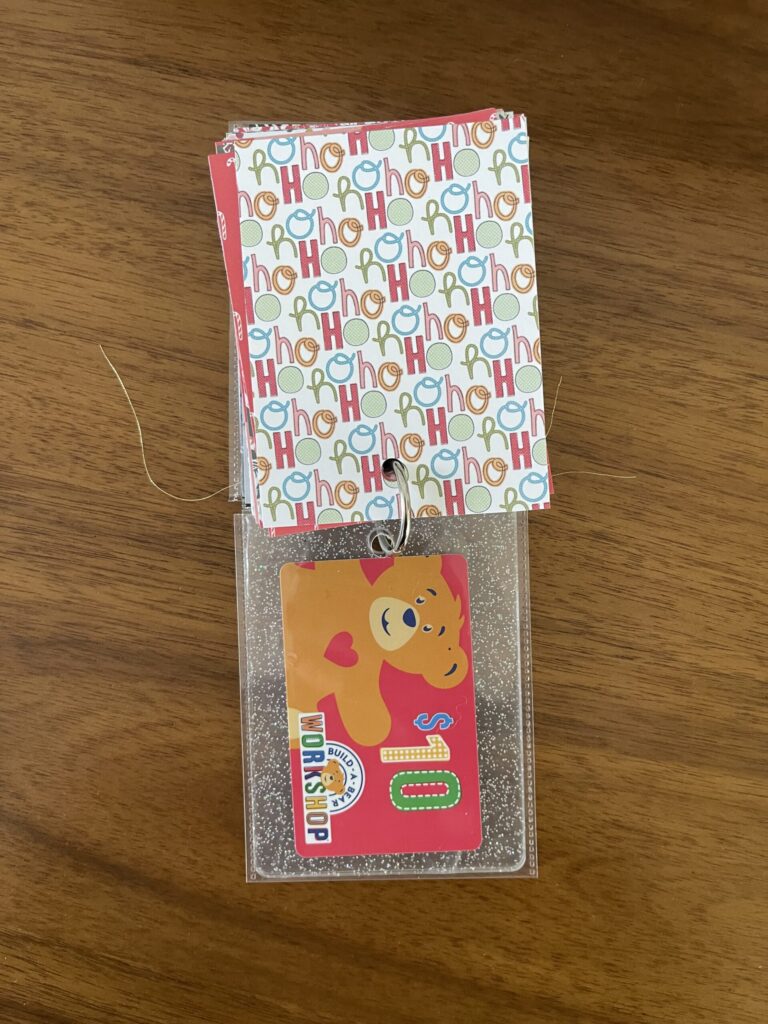
The final “page” you see here is one of the many gift cards we’ve purchased at half price over the years, slipped into a 3×4 Photo Flips (RIP) with the top cut off.
(For every $25 you spend during any given Build-A-Bear purchase, you can buy a $10 gift card for $5 (I think this applies only to in-person purchases). We usually spend around $100 each year, sometimes a little more, so each year we walk away with $40 or $50 of gift cards for $20 or $25. I use the gift cards to fund basically half of the following year’s purchase. For the first years of this tradition, Costco sold $100 worth of Build-A-Bear gift cards for, depending whether they were on sale, $70 or $80. I’d also buy these, for a little extra savings.)
* * *
The backs of the first 10 photos are mostly wrapping paper from Christmases past. A few are scrapbooking papers from my stash (both digital and physical) that are no longer available.
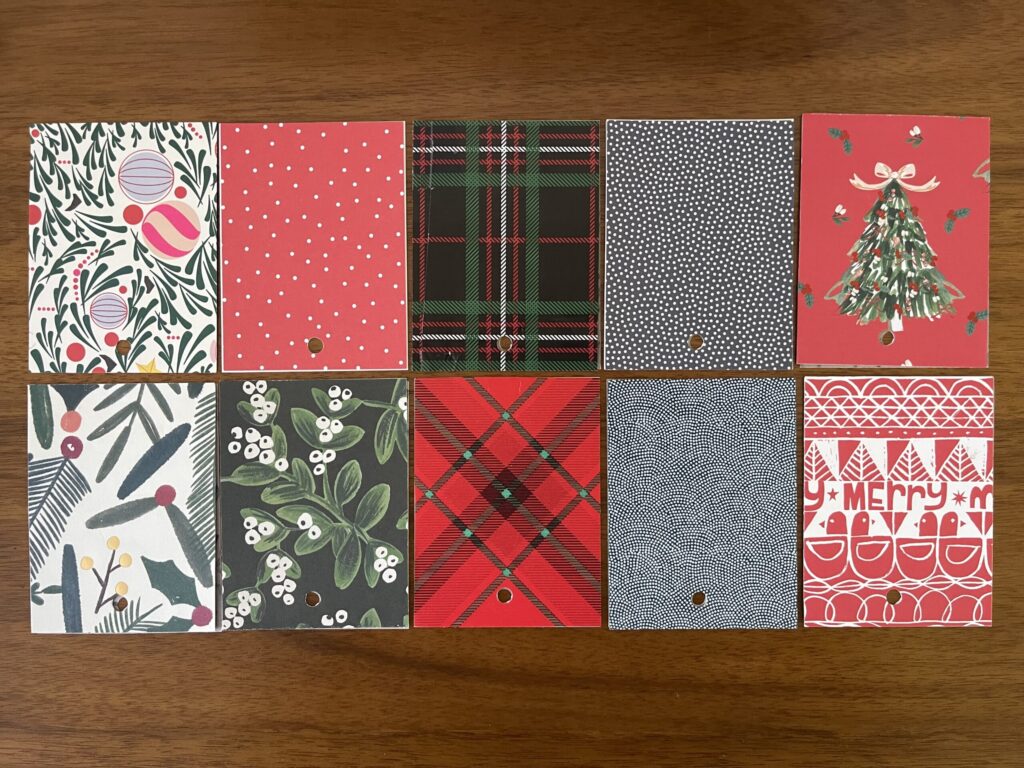
The next 10 papers are all digital scrapbooking papers that I printed at home. Most of them are still available.
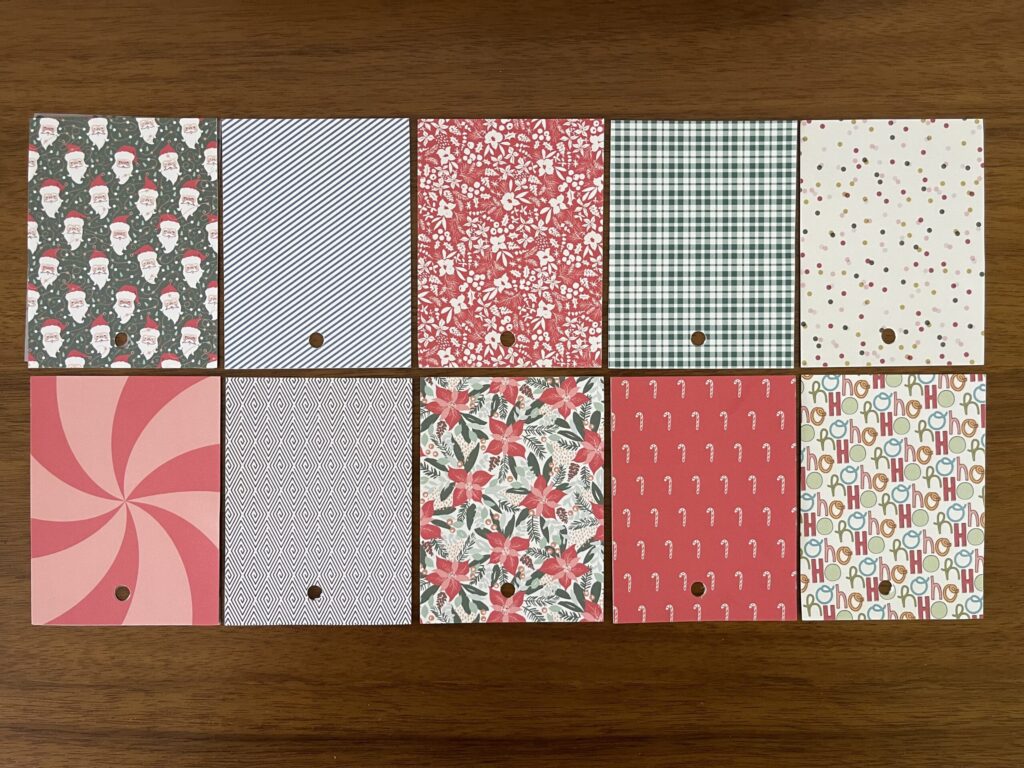
Top row, from left to right:
Bottom row, from left to right:
- No longer available
- No longer available
- Poinsettias*
- Candy canes*
- Ho ho ho
*Papers with an asterisk are part of the same paper pack. If you’re new to digital scrapbooking supplies, that means you pay a flat price ($5 in this case) for multiple .jpgs of various different patterned and/or solid papers. The two paper packs linked above that are sold by Hey Scrapper offer variants with different colors for some of the patterned papers included in the pack; these color variants are not shown in the product photos on the website (for example, the red and white floral pattern (third option in the top row in the photo above) is included in the linked pack but is not shown in the product photo).
If you print your digital scrapbooking papers at home, a benefit is you can play with the scale of the pattern to suit your preferences and the project’s dimensions. You also have infinite access to digital papers you purchase—you can print them over and over, for use in as many projects as you want, forever. A drawback is that, unless you have a professional printing setup, the paper quality and color vibrancy won’t be on par with professionally printed gift wrap or scrapbooking paper. You can see this in the two photos above: in the first, every paper is professionally printed and the patterns look brighter and sharper; in the second, every paper was printed at home onto cheap cardstock by a basic inkjet photo printer and look a bit muted and less crisp.
* * *
Where to find physical holiday-themed scrapbooking papers: Aside from your local craft supply store and Michaels (and the like), you can find a large selection of physical holiday-themed scrapbooking papers at Scrapbook.com in both individual sheets and paper packs. Often, their individual sheets are double-sided, with a different print/pattern/color on each side.
Where to find digital holiday-themed scrapbooking papers: I think your best bet for digital holiday-themed papers are Hey Scrapper, The Lilypad, and, of course, Ali Edwards’ December Daily product line, which offers both physical and digital options.
A few ways to adapt this project concept: If Christmas isn’t your thing, you might instead use this project concept to document Halloween costumes. Or first-day-of-school outfits. Or birthdays. There are plenty of Halloween-themed and birthday-themed scrapbooking papers out there, and you can pair first-day-of-school outfit photos with so, so many different paper colors, prints, and patterns.